Things often go wrong during the process of learning sourdough. This article talks about the common mistakes that you might run into when baking sourdough bread, how to fix any issues that might arise, and defines common terms.
Baking sourdough can be daunting even for the most experienced of bakers. So many factors come into play — water and flour amounts and types, temperature, timing, handling, weights and volumes, oven temperatures — the list goes on and on. Read on to learn all about how to make sourdough!
Jump to:
Sourdough Starter
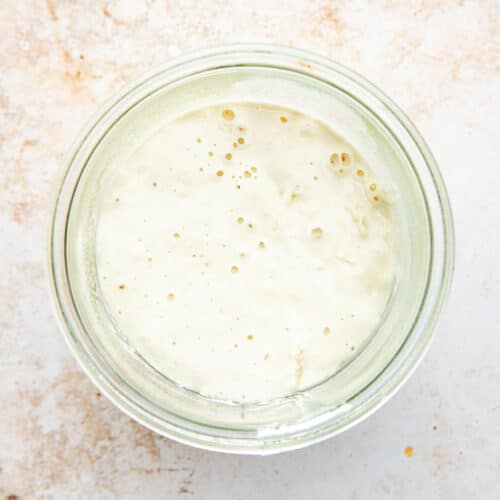
As a fermented culture, bringing a sourdough starter to life takes time. Visit this post called how to make a sourdough starter from scratch to learn the basics of creating and maintaining a starter.
You may see some bubble activity in the first few days but know that it's common for a starter to fall flat 5 to 7 days after creation. Don't give up! A healthy and strong, sour-tasting starter can takes months, even years, to nurture! That being said, you should be able to bake a loaf within one month.
Ambient Temperature And Sourdough Starter
Because sourdough starters are alive, they are susceptible to ambient room temperature like any other living being. If your house is cool, it can make the activity in your starter more sluggish. On the other hand, if your house is too warm, your starter may become overactive, with a less distinguished sour flavour.
If baking a few times a week, test your freshly fed starter in different spots around the house until you find a spot it likes. A happy starter will rise up light, bubbly, and fluffy, with a texture like melted marshmallow, within 5 to 8 hours of feeding. Store your starter in the fridge if you are baking less often, feeding a couple of times before baking.
Ambient Temperature And Dough Rising
There are a couple of reasons your sourdough might be rising slower than you think it should, or than the recipe states.
Same as with the sourdough starter itself, ambient house temperature makes a big difference here. If your house is cool or there are drafts, the dough will rise much slower than compared to a warm, draft free place.
Second, additions to dough - enriched doughs, like in our sourdough dinner rolls - will have a slower rising time, and this is compounded if it's also cold or drafty. Using eggs, milk, butter, or any of their vegan counterparts will slow the rise of your breads.
To fix these issues, make sure that your dough can be placed in a spot that's relatively warm (not hot - on top of a radiator is a no), without drafts or variations in temperature.
For enriched dough, start with all ingredients at room temperature to help speed up the process, as cold milk and eggs will cool down the total temperature of the dough and cause it to slow down.
Tools
We have a whole post dedicated to our favourite and essential sourdough tools. You can spend a lot of money if you have it, but rest assured you can also make great sourdough bread with basic tools you probably have in your kitchen right now!
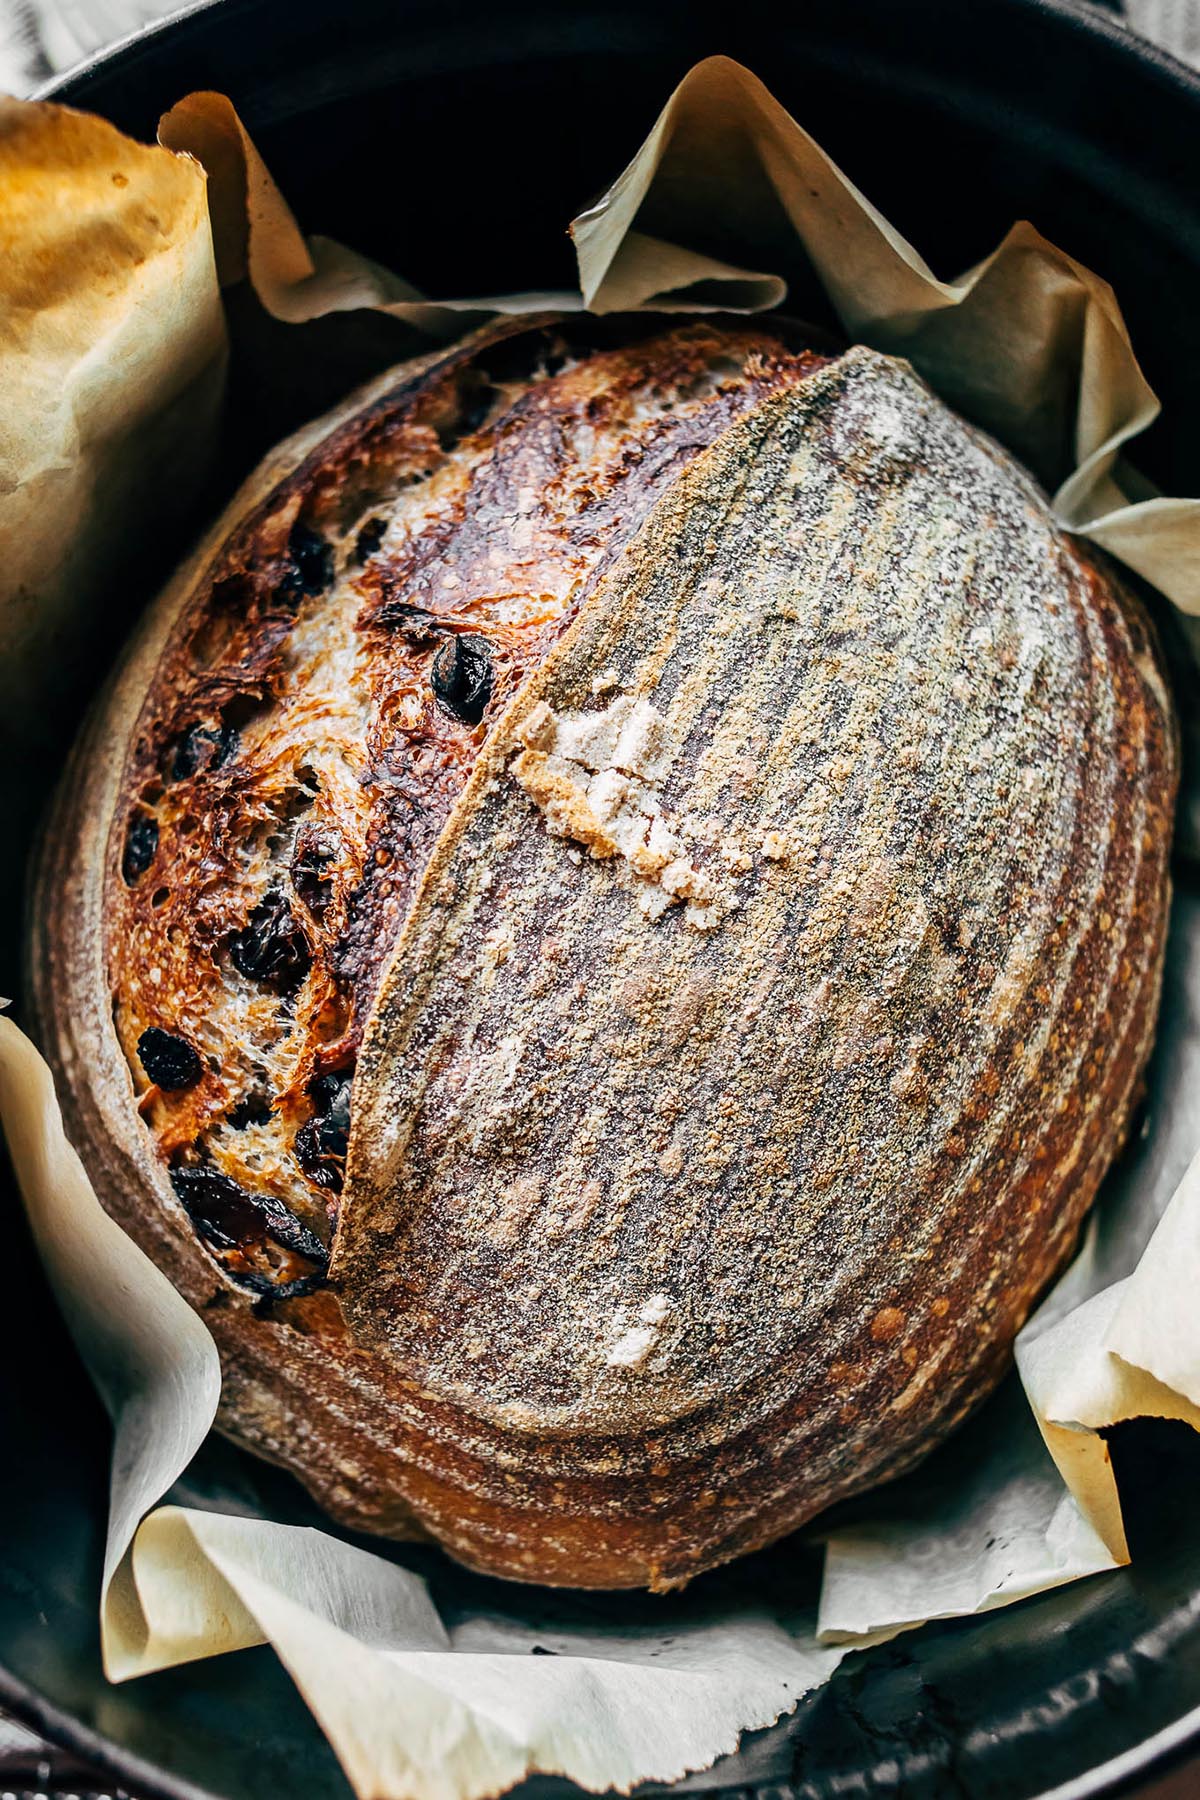
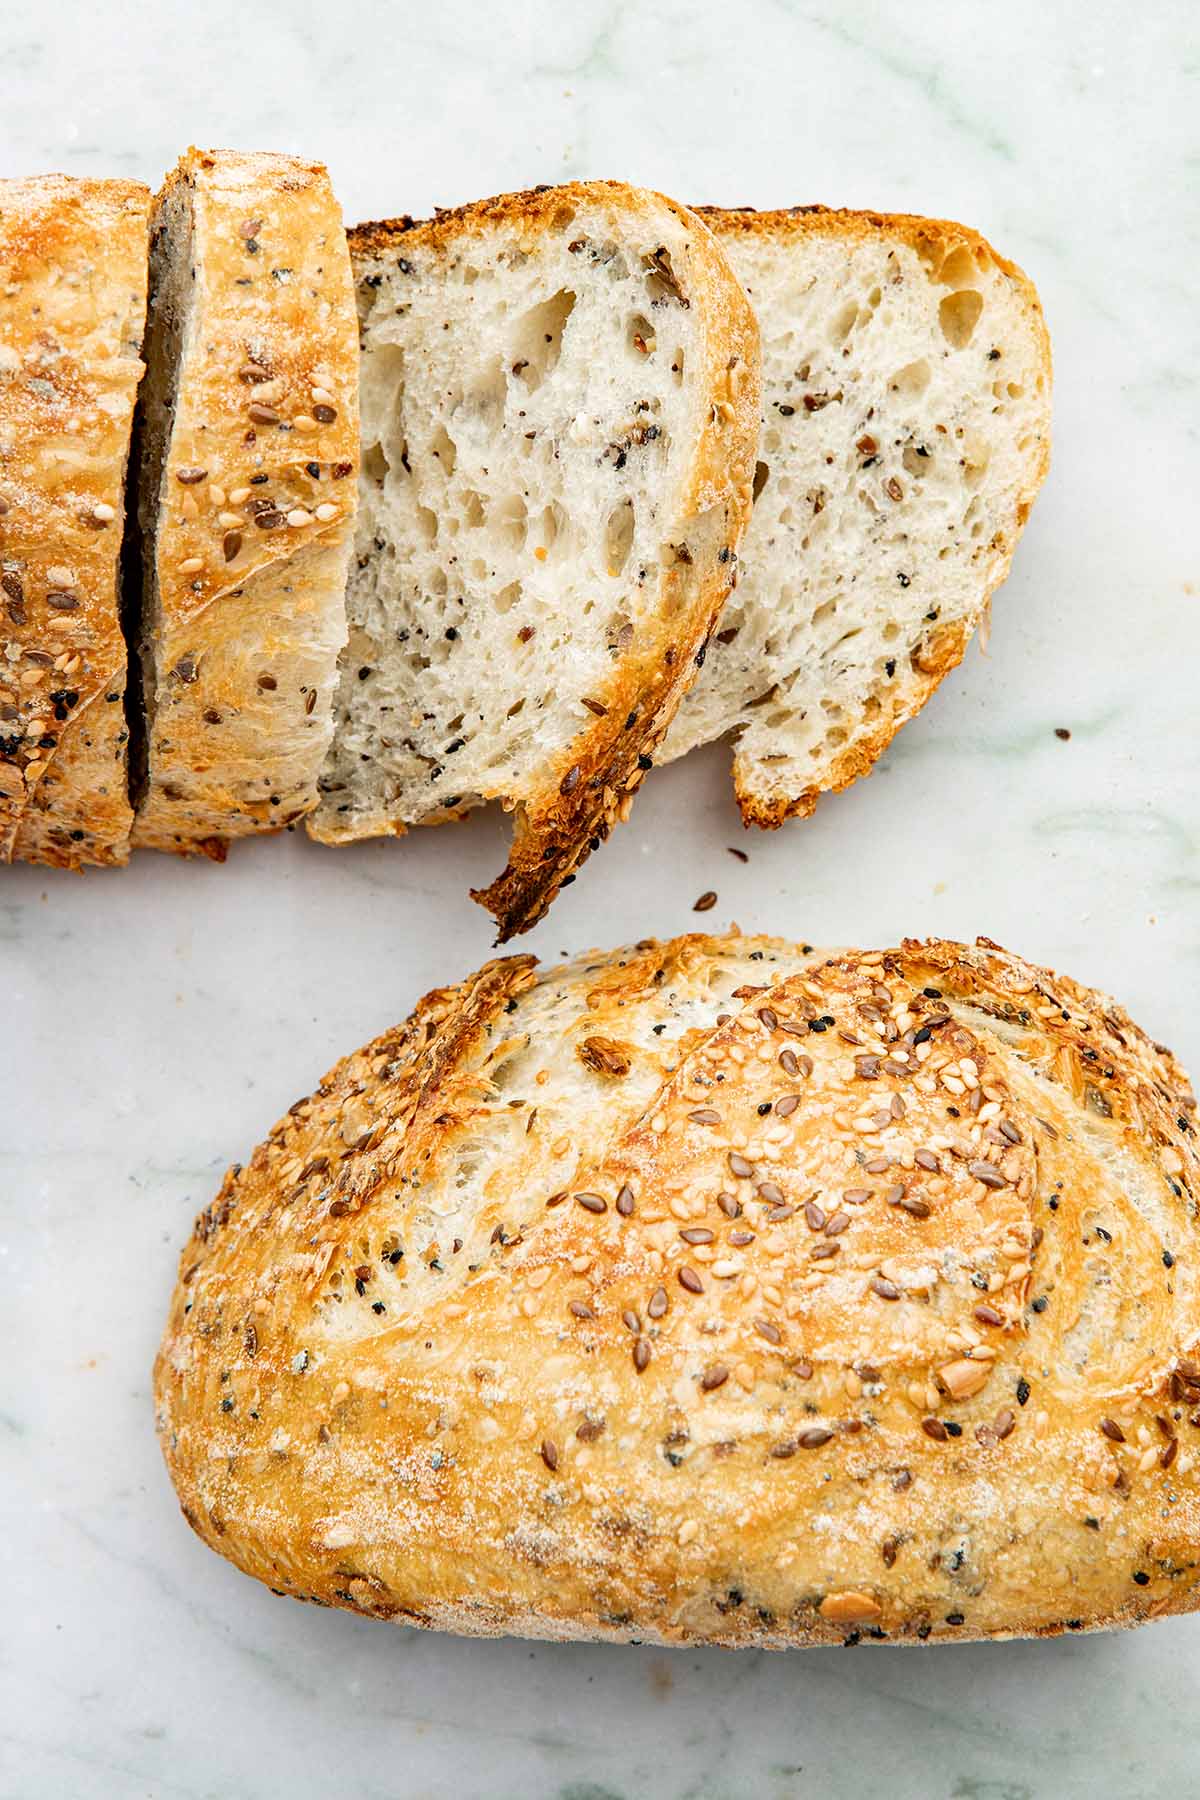
Whole Grains and Flour Substitutions
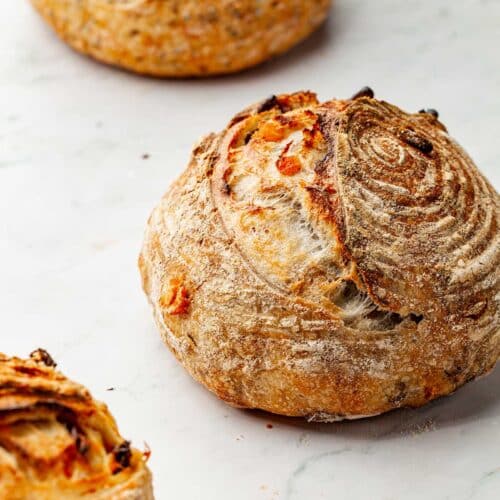
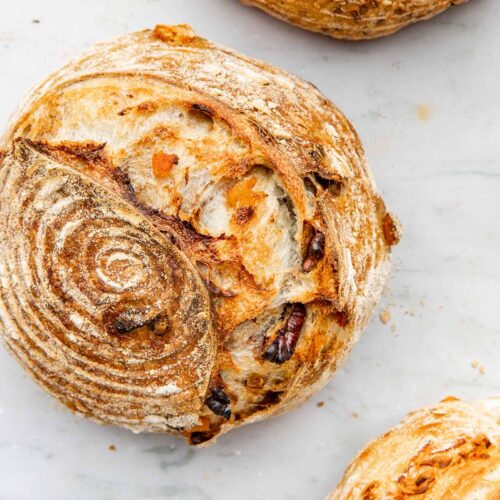
Try our cinnamon raisin sourdough for a 40% whole wheat loaf, or this 100% whole grain sourdough. You can also use spelt or rye flour, as in this sourdough dark rye bread. Ancient grains are lower in gluten and a little more difficult to work with, but they make for excellent flavour.
For most recipes, it's safe to substitute up to half of the plain flour with whole wheat. It is a bit harder to work with, but if you have some experience, you can try altering your favourites to make them a bit more wholesome.
It is possible to bake gluten free sourdough bread, but not to adapt an existing wheat-based sourdough recipe to make it GF. We recommend the recipe linked above, or you can look for books that are specifically gluten-free for good recipes, like Cannelle et Vanille.
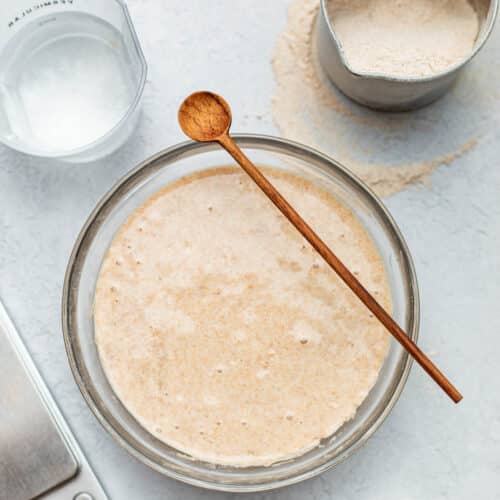
Weights vs Volume
We always recommend using weights (grams) for baking sourdough bread in any form! Measuring with volume (cups) varies from person to person, and will never be as accurate.
Here at BC we measure regular all-purpose flour at 150 grams per cup; a cup of water is 250 grams. If your personal measurements vary from this, please use those trusted weights instead (as recommended by Penguin Random House recipe guidelines, along with our 70+ years of combined baking experience).
We always test recipes with both cups and grams to ensure our recipes will work either way, but weights are much more reliable. Cups are sometimes included for ease for beginner bakers who might not be sure they want to invest in a scale, but if you want to bake regularly, a decent scale is your friend. If using volume measurements, do the scoop and level method for the most consistent results possible.
If you choose one or the other, make sure you're sticking with only one method of measuring for each recipe, as mixing volume and weight will often result in a subpar bake.
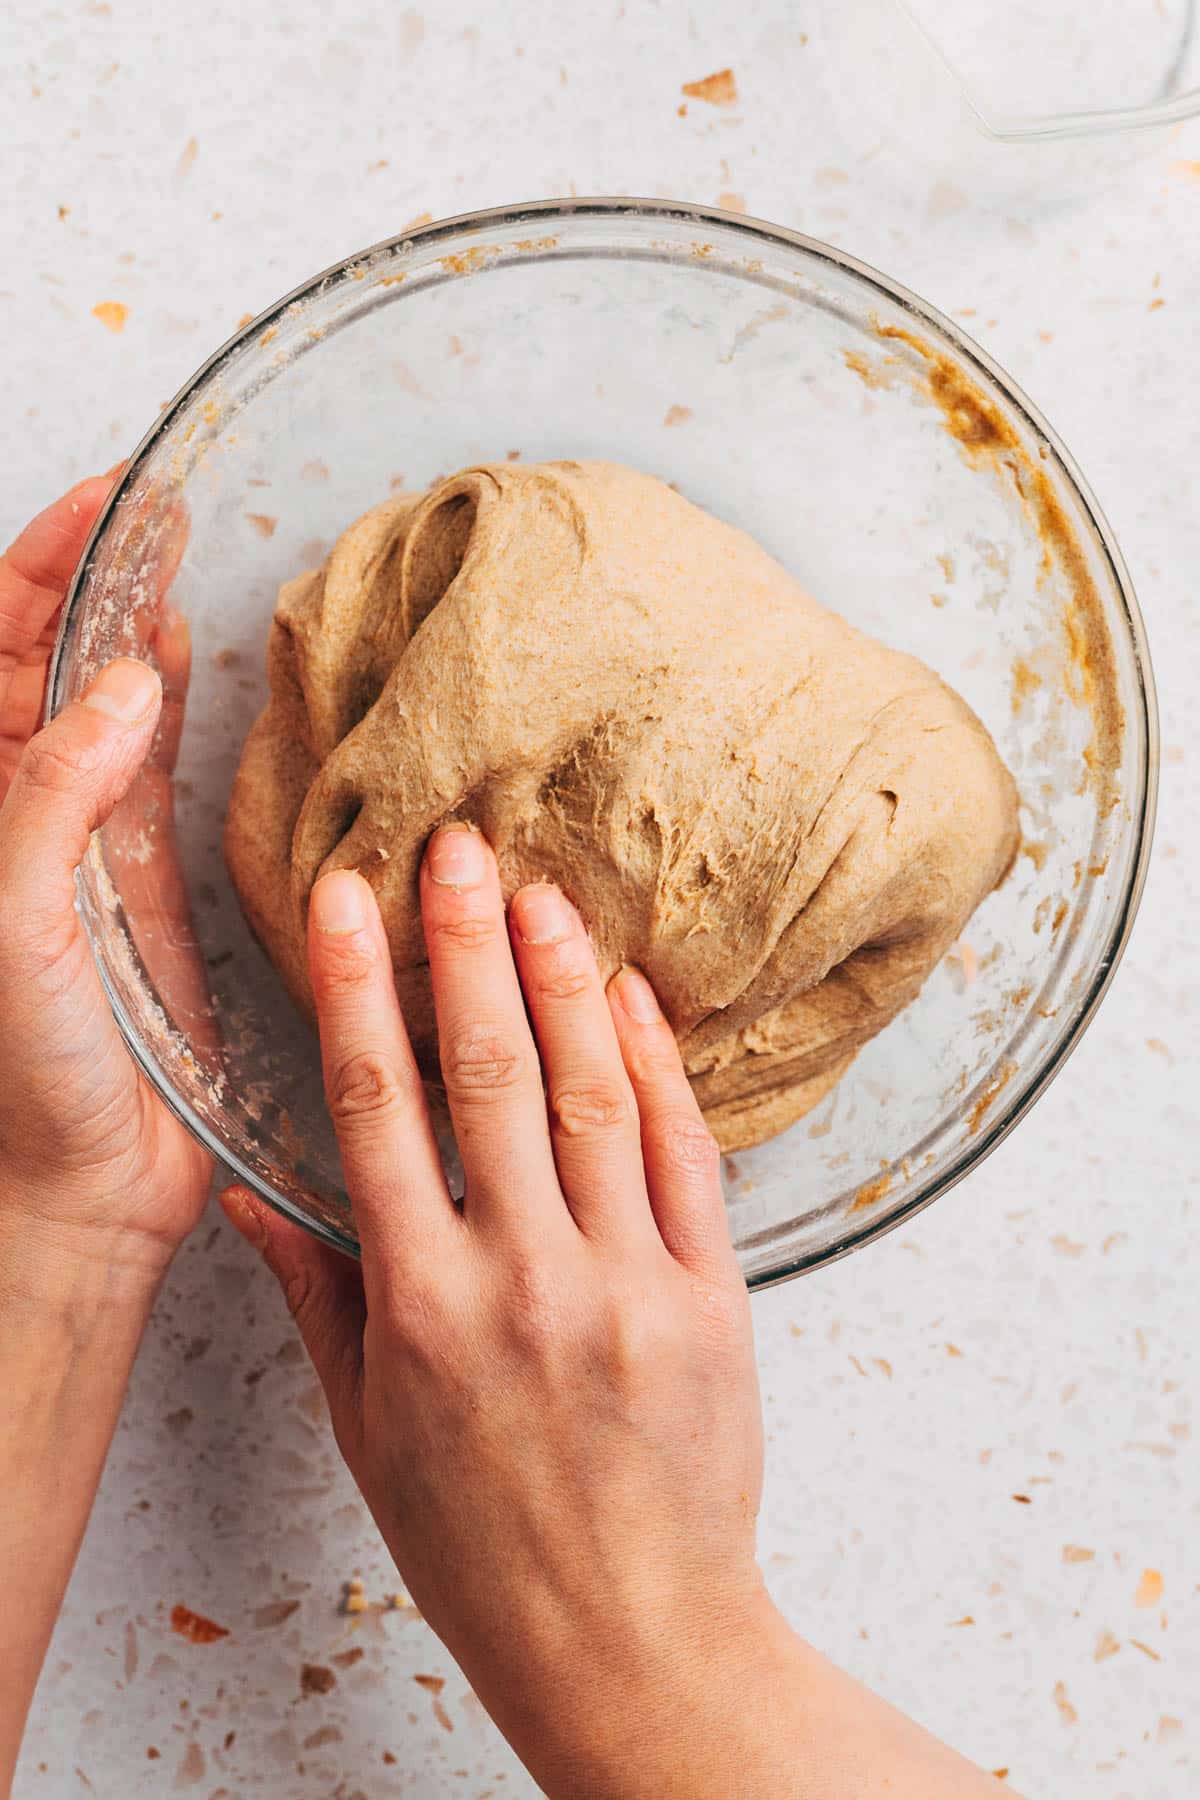
Stretches and Folds
We have a whole post on how to do stretches and folds! These add structure to your bread by helping to activate the gluten present in wheat flours.
Proofing
Proofing is the time sourdough spends rising before baking.
Under-proofed Sourdough
Not giving your loaf enough time to rise will yield an under-proofed loaf. Under-proofed sourdough is:
- Can actually get a good rise from under-proofed dough, however, crumb may be "tight" rather than open and airy.
- Possibly gummy and dense on the inside after slicing.
- Chance of large empty air pockets inside loaf.
To fix: increase rising time of loaf.
Over-proofed Sourdough Bread
When sourdough bread is given too long of a rise time it will result in bread that is over-proofed. Signs of over-proofing are:
- A huge puffy ball of dough after the end of the rising time.
- Bread doesn't rise when baked.
- Pale crust after baked.
- More noticeable sour taste, possibly unpleasant.
To fix: reduce the rising time by at least one hour.
Stickiness & Sticking
There's no way around it. Sourdough bread dough is sticky! When making loaves we recommend lightly wetting your fingers and/or hands with water to reduce sticking rather than using flour. If you find your shaped loaves sticking to the banneton or bowl, a good dusting of regular flour or rice flour before placing the loaf in will help.
You can also line your banneton or bowl with a clean cotton kitchen towel. Once removed before baking, we tap any excess flour out of our bannetons, but we don't wash them. Store them in a cool, dry place, covered with a clean cloth to keep out dust. A slight build-up of flour residue works similar to seasoning a cast iron pan, and helps reduce sticking over time.
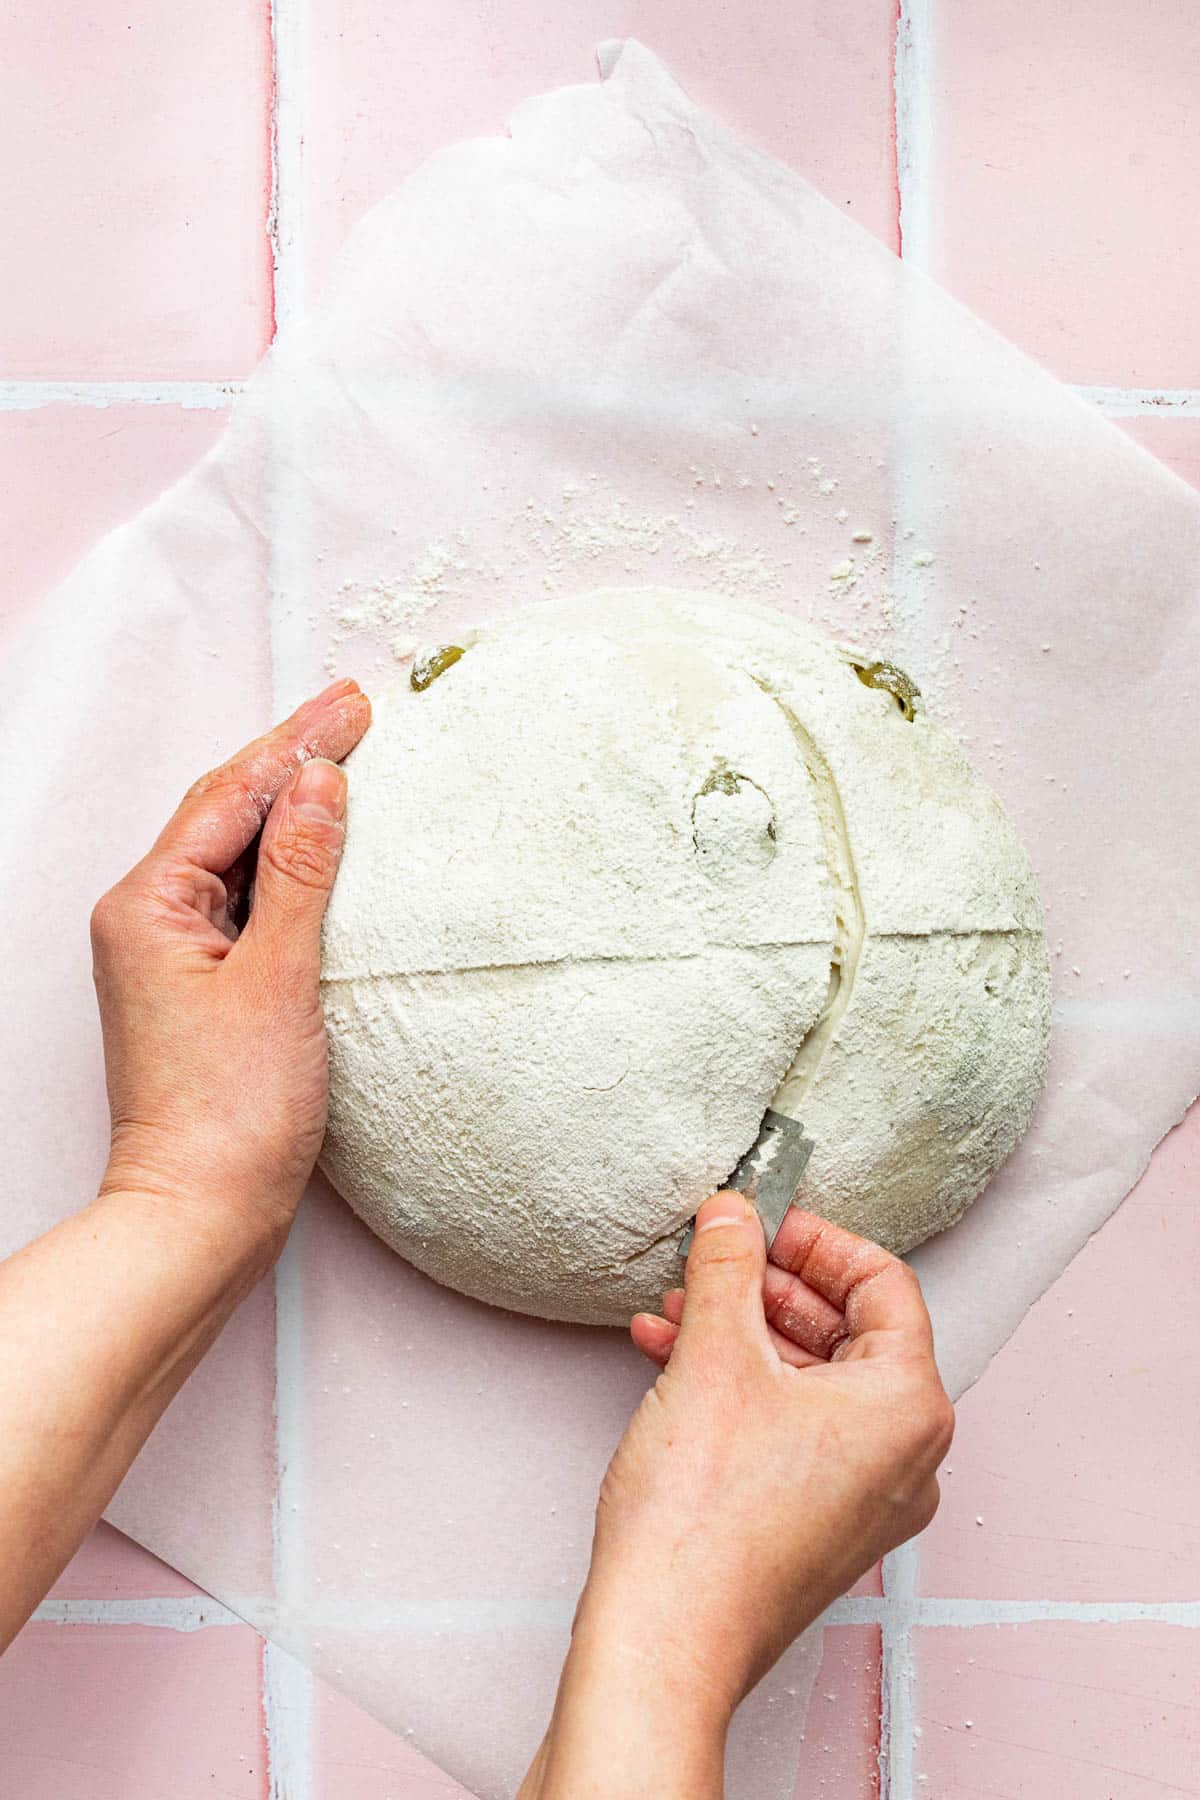
Scoring & Slashing
Can't Get A Clean Decorative Cut On Loaf
There are three reasons you may not get a clean score on the top of a loaf:
- The outer surface of your bread is slack, and did not receive a good amount of tension when being shaped. You can often tell this is the culprit if your blade feels like it is skipping and dragging over the loaf rather than slicing cleanly. See this post on shaping to troubleshoot.
- The lame or cutting blade you are using is dull. We switch to fresh blades often to get nice clean slashes on sourdough loaves.
- You did not score deep enough into the dough. A clean score should be seen clearly, without the dough trying to connect back together.
Bread Bursting Through Scoring
This can be a sign of over-proofing, that is, leaving your dough to rise for too long before shaping. Reduce the bulk-ferment time (the amount of time spent rising after stretch and folds are completed).
Crust
Crust Too Light Or Too Dark
A simple fix - bake the loaf longer, or for less time respectively, with the lid of the Dutch oven removed.
Bottom Of Loaf Dark, Thick, And Hard To Slice
This is an issue for many bakers, and not just beginners. Try placing a pizza stone, or metal baking sheet on the rack below the Dutch oven to absorb some of the heat from the bottom of the pot. This can help make the bottom of your bread less dark and tough.
If you make found this Sourdough Troubleshooting Tutorial any other sourdough bread tutorials on the Baked Collective helpful, please take a moment to leave a comment below. It’s such a help to other readers. For more baking, follow along on Instagram, TikTok, and YouTube.