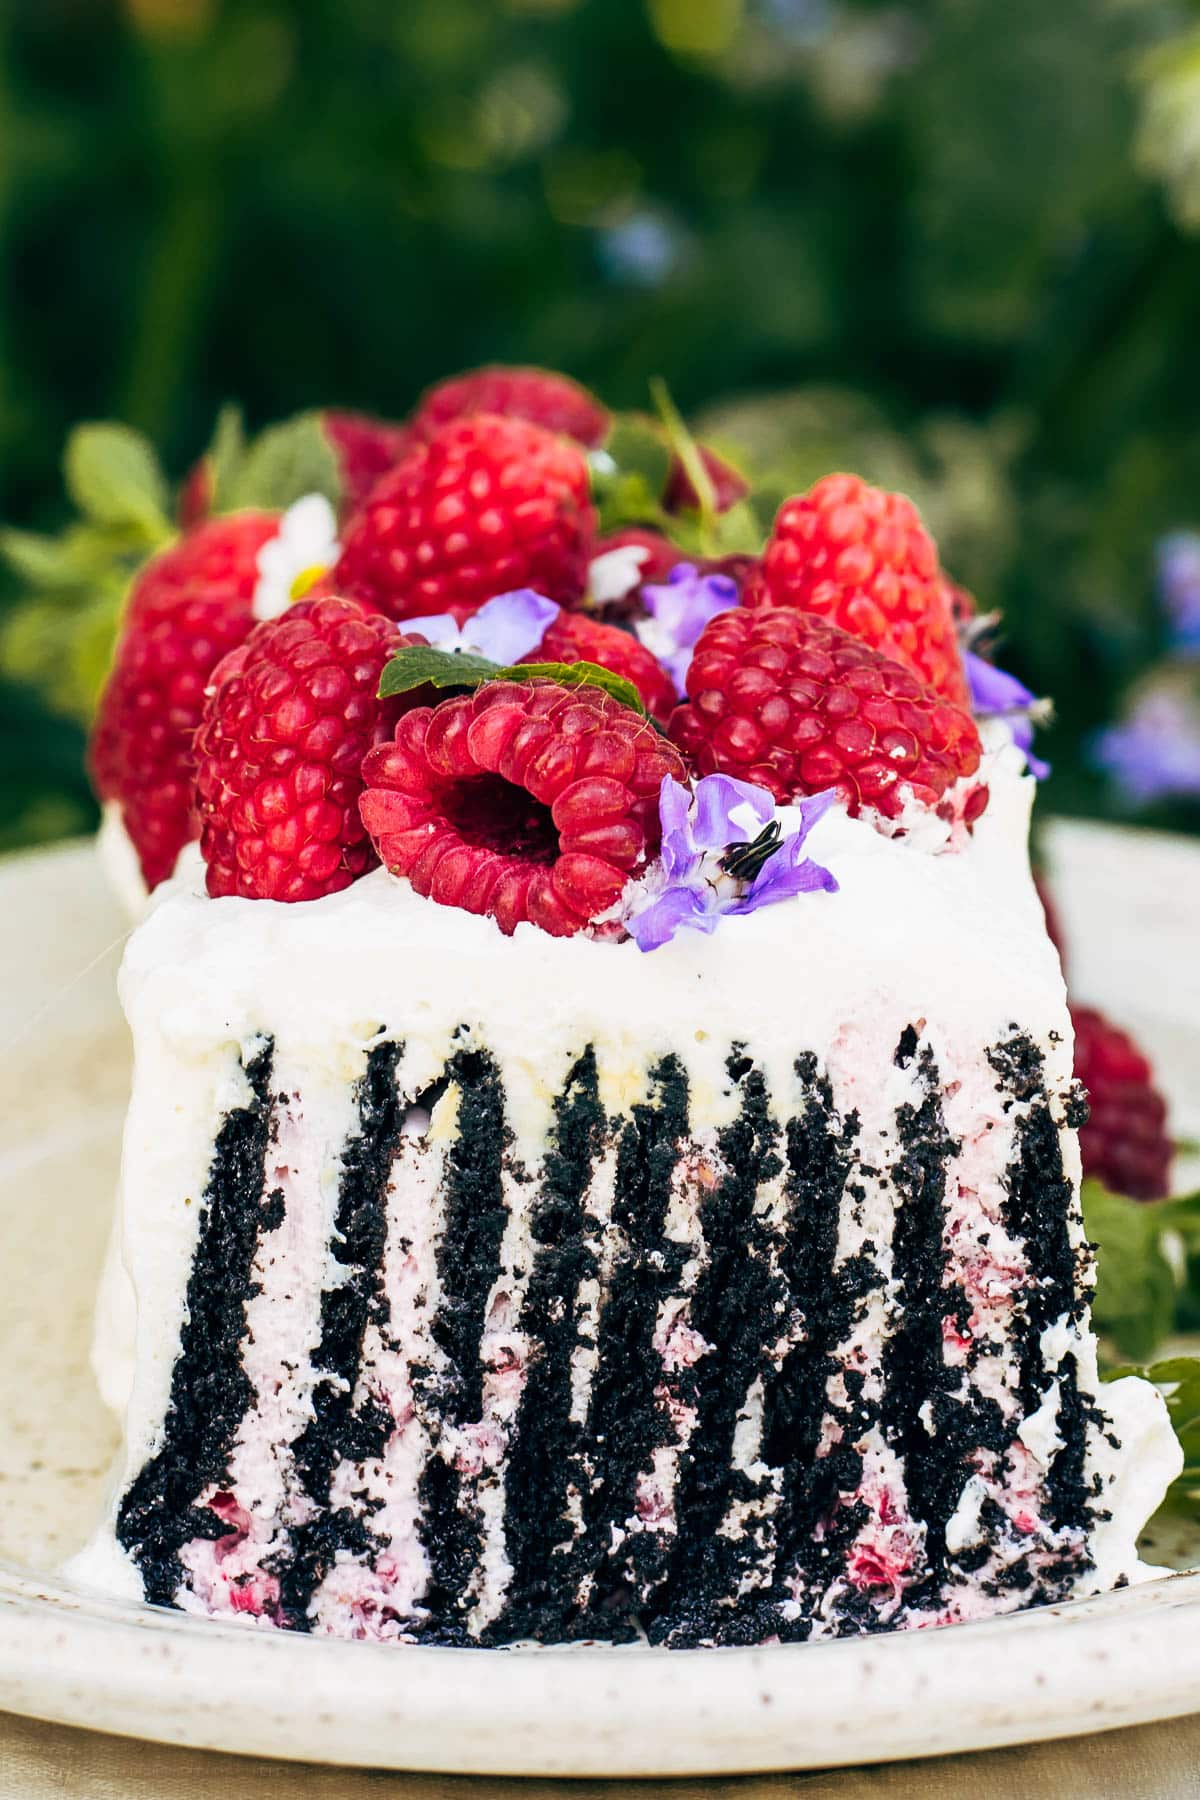
An old fashioned no-bake icebox cake is the best easy dessert for hot summer days! This chocolate raspberry version needs just five ingredients. For most of us, there comes a point in high summer, usually mid-July, that it just gets too hot to bake. That doesn't mean you need to go without dessert! This easy chocolate icebox cake is an old-school solution, modernized a bit here with fresh summer berries.
If it's too hot to bake but you want something sweet, try a no-bake gluten free cheesecake, easy white chocolate mousse, and old fashioned rocky road candy bars.
Jump to:
Ingredients
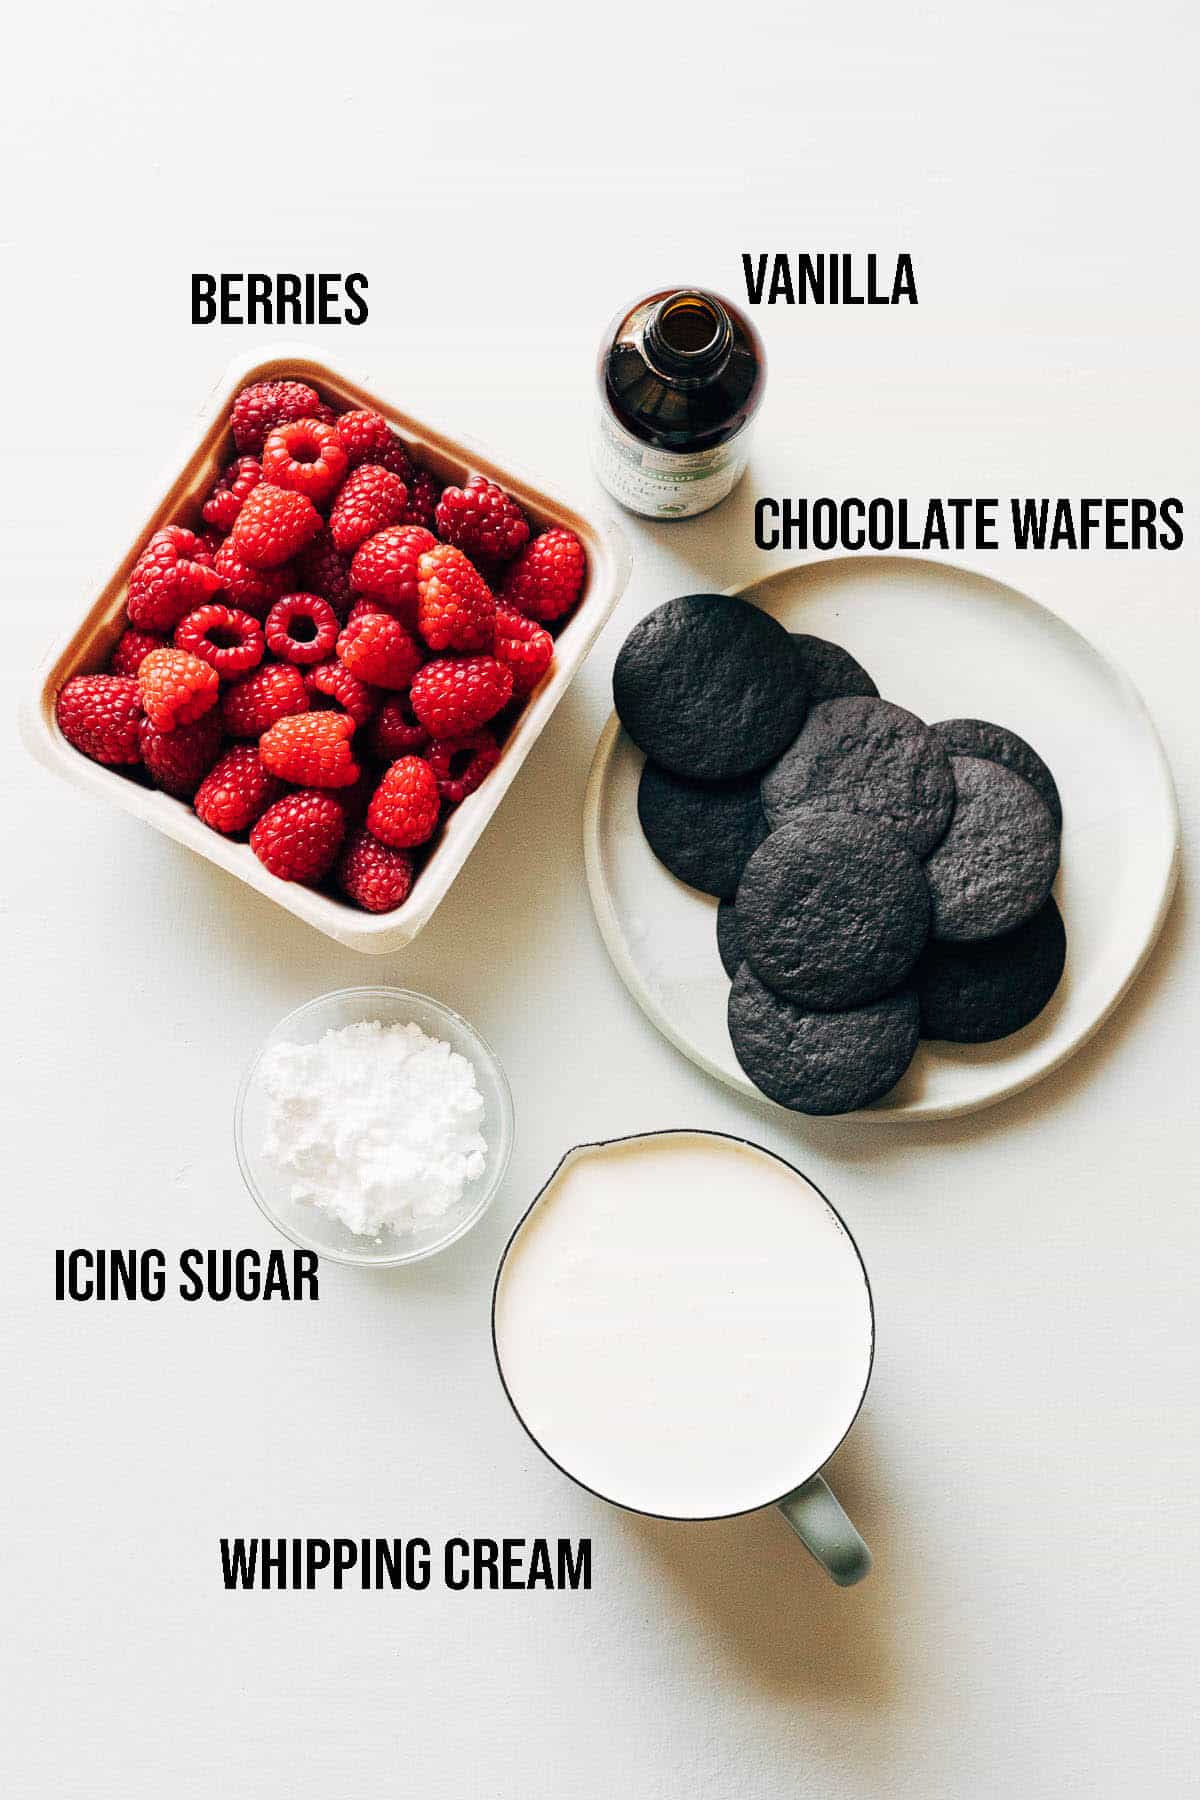
Ingredient Notes and Substitutions
- Chocolate cookies: substitute the chocolate wafers for vanilla wafers, ginger cookies, graham crackers, or any other thin wafer-like cookie you like.
- Raspberries: use any other fresh soft berry you have on hand or is in season. Blackberries are also great! Thawed frozen berries work a treat. You can also use some jam in the whipped cream if you prefer.
- Vanilla extract: substitute lesser amounts of almond extract, peppermint extract, or any other flavouring you prefer. Orange blossom water is nice.
- Make it dairy-free: use dairy-free cookie wafers and coconut whipped cream.
Method
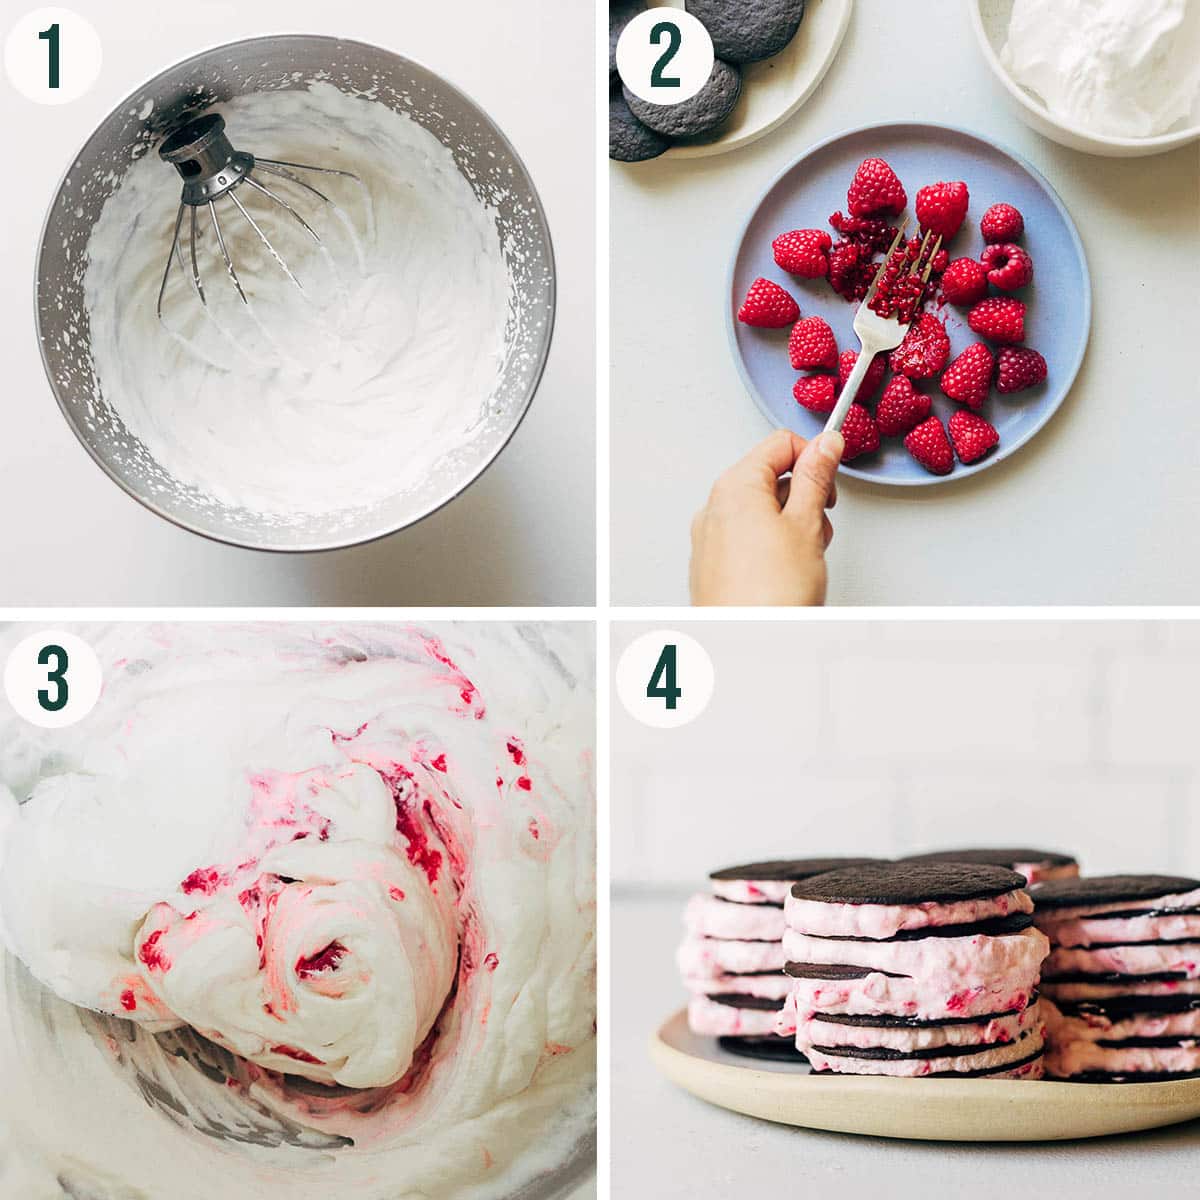
Step 1: beat the whipping cream, vanilla, and powdered sugar in a stand mixer (or with a hand mixer) until soft peaks form. Reserve half of the whipped cream in another bowl and set aside.
Step 2: set aside the half the raspberries for garnish. Take the remaining raspberries and mash them with a fork until a jammy consistency is reached.
Step 3: gently fold the mashed raspberries into one of the bowls of whipped cream. As the berries and cream combine the cream will turn a pretty pale pink.
Step 4: spoon a small amount of raspberry cream onto a chocolate wafer. Top the cream with another wafer to make a sandwich cookie. Repeat the layering of cream and cookies until the stack is nine cookies tall. Repeat this step until you have four stacks of nine cookies layered with cream.
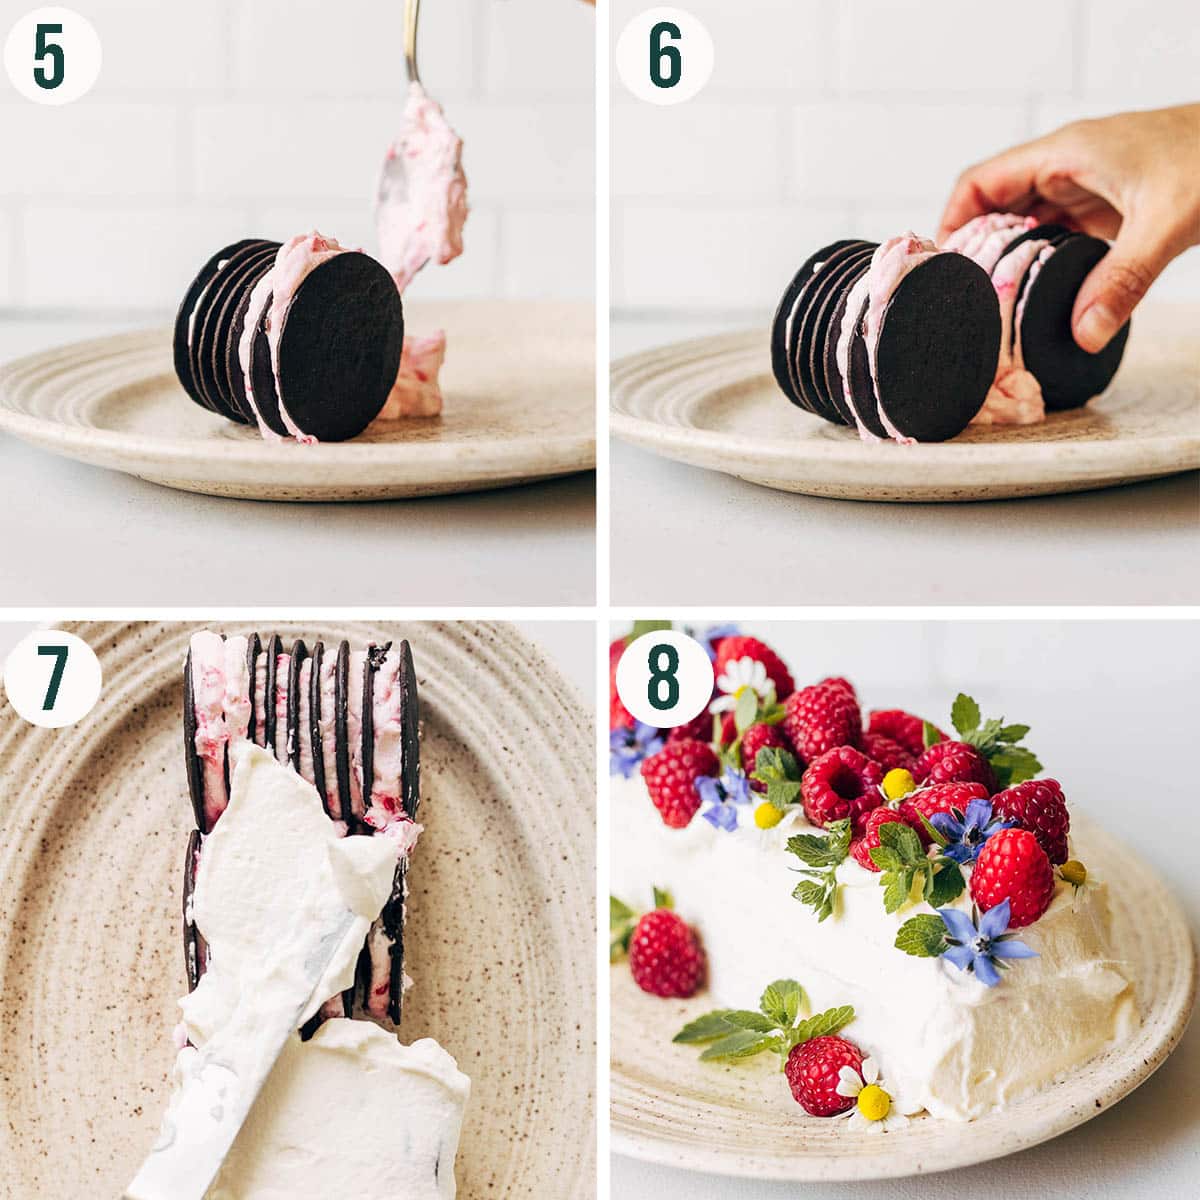
Step 5: lay each cookie stack down on your serving platter so the rounds of the cookies look like the wheels of a train.
Step 6: if you have raspberry cream leftover, use it to help adhere the rows together.
Step 7: use the reserved whipped cream to coat the outside of the cookies much like icing a cake. Try to cover up any imperfections.
Step 8: place the cake in the fridge to chill and soften for at least 4 hours. Just before serving, decorate the cake with the remaining raspberries, plus edible flowers, fresh mint leaves, or any other garnish you like.
What Is An Icebox Cake?
Back in the day, before refrigerators were powered by electricity, food inside was kept cool with large blocks of ice. After electric fridges came along, people called the older ice fridges "ice boxes" to distinguish the two.
The icebox cake is a no-bake dessert that is just as good today as it was back then! Whipped cream, and sometimes fruit, is layered between cookie wafers, then iced in more whipped cream. The dish needs at least four hours in the fridge for the cream to soften the cookies into a cake-like consistency, so plan accordingly.
Top Tips
- Assemble on the serving dish: the cake will be impossible to move once it's assembled, so make sure to build it right on the dish you plan to serve it on.
- Cut individual slices: to serve, cut the icebox cake into slices the way you would a loaf of bread and plate as individual slices. You'll need a sharp knife for this, but it should be soft enough to cut through.
- Sweeten to taste: adjust the amount of sugar added to the whipped cream (especially if you're using jam rather than fresh berries) to suit you preference.
How to Store
Storage: keep the cake in a sealed container in the fridge for up to three days. It will soften over time but still taste good.
Freezing: the cake can be frozen, but the cream has a tendency to separate a bit after thawing, so we don't recommend it.
FAQ
Why do they call it an icebox cake?
Iceboxes are the precursor to modern refrigerators, and since this cake is made by chilling rather than baking, it's called an icebox cake!
What is another name for icebox cake?
Icebox cake is sometimes called fridge cake, refrigerator cake, whipped cream cake, and cookie cake or biscuit cake.
What is ice box cake made of?
Icebox cake is made of cookies or biscuits layered with sweetened whipped cream, sometimes with fruit or other ingredients added. While chocolate cookies are most common, you can make it with any wafer-style cookie.


If you make this Icebox Cake recipe or any other no-bake recipes on the Baked Collective, please take a moment to rate the recipe and leave a comment below. It’s such a help to others who want to try the recipe. For more baking, follow along on Instagram, TikTok, and YouTube.
Chocolate Raspberry Icebox Cake
Equipment
- Stand or hand mixer
- Serving platter
- Mixing bowl
- Measuring cups and spoons or a digital kitchen scale
Ingredients
- 2 cups 35% whipping cream, one carton
- 2 tablespoons powdered sugar
- 1 teaspoon vanilla extract
- 2 cups fresh raspberries
- 7 oz. chocolate cookie wafers, one sleeve
- Fresh mint leaves, or edible flowers for garnish, optional
Instructions
- Have a serving platter ready to assemble the icebox cake.
- Beat the whipping cream, vanilla, and icing sugar in a stand mixer (or with a hand mixer) until stiff peaks form. Reserve half the whipping cream in another bowl and set aside.
- Set aside half of the raspberries for garnish. Take the remaining raspberries and mash them with a fork until a jammy consistency is reached.
- Gently fold the mashed raspberries into one of the two bowls of whipping cream until well combined.
- Carefully spoon about 2 teaspoons of raspberry cream on top of a chocolate wafer.
- Top the cream with another wafer to make a sandwich cookie. Continue to layer the cream and cookies until the stack is 9 cookies tall. Repeat this step until you have 4 stacks of 9 cookies.
- Lay each cookie stack down, side-by-side on your serving platter so the rounds of the cookies look like the wheels of a train. The stacks should fit snugly together! If you have any raspberry cream left, use it to adhere the stacks together.
- Take the reserved whipped cream and spread it over the cookies much like icing a cake. Try to cover up any imperfections, but note it may look a little messy. It will work out we promise!
- Place the cake in the fridge to soften the cookies for at least 4 hours.
- Just before serving, decorate the cake with the remaining raspberries. Add fresh mint leaves and edible flowers if you like.
- To serve - slice the icebox cake like a loaf of bread and serve individual slices.
Nutrition
Nutrition information is an estimate and is provided as a courtesy. For precise nutritional data, please calculate it independently using your preferred nutrition calculator.
This post may contain affiliate links. If you purchase through these links, we may earn a small commission, at no additional cost to you.
 Did you make this recipe?Please consider leaving us a rating and a comment. It helps others find our work, which genuinely supports what we do. Thank you!
Chocolate wafers. Are hard to find now,use Bear Paws box of plain chocolate cookies,slightly thicker but use abit more cream and longer time in fridge,still works great,use your whipping cream to dress it up.