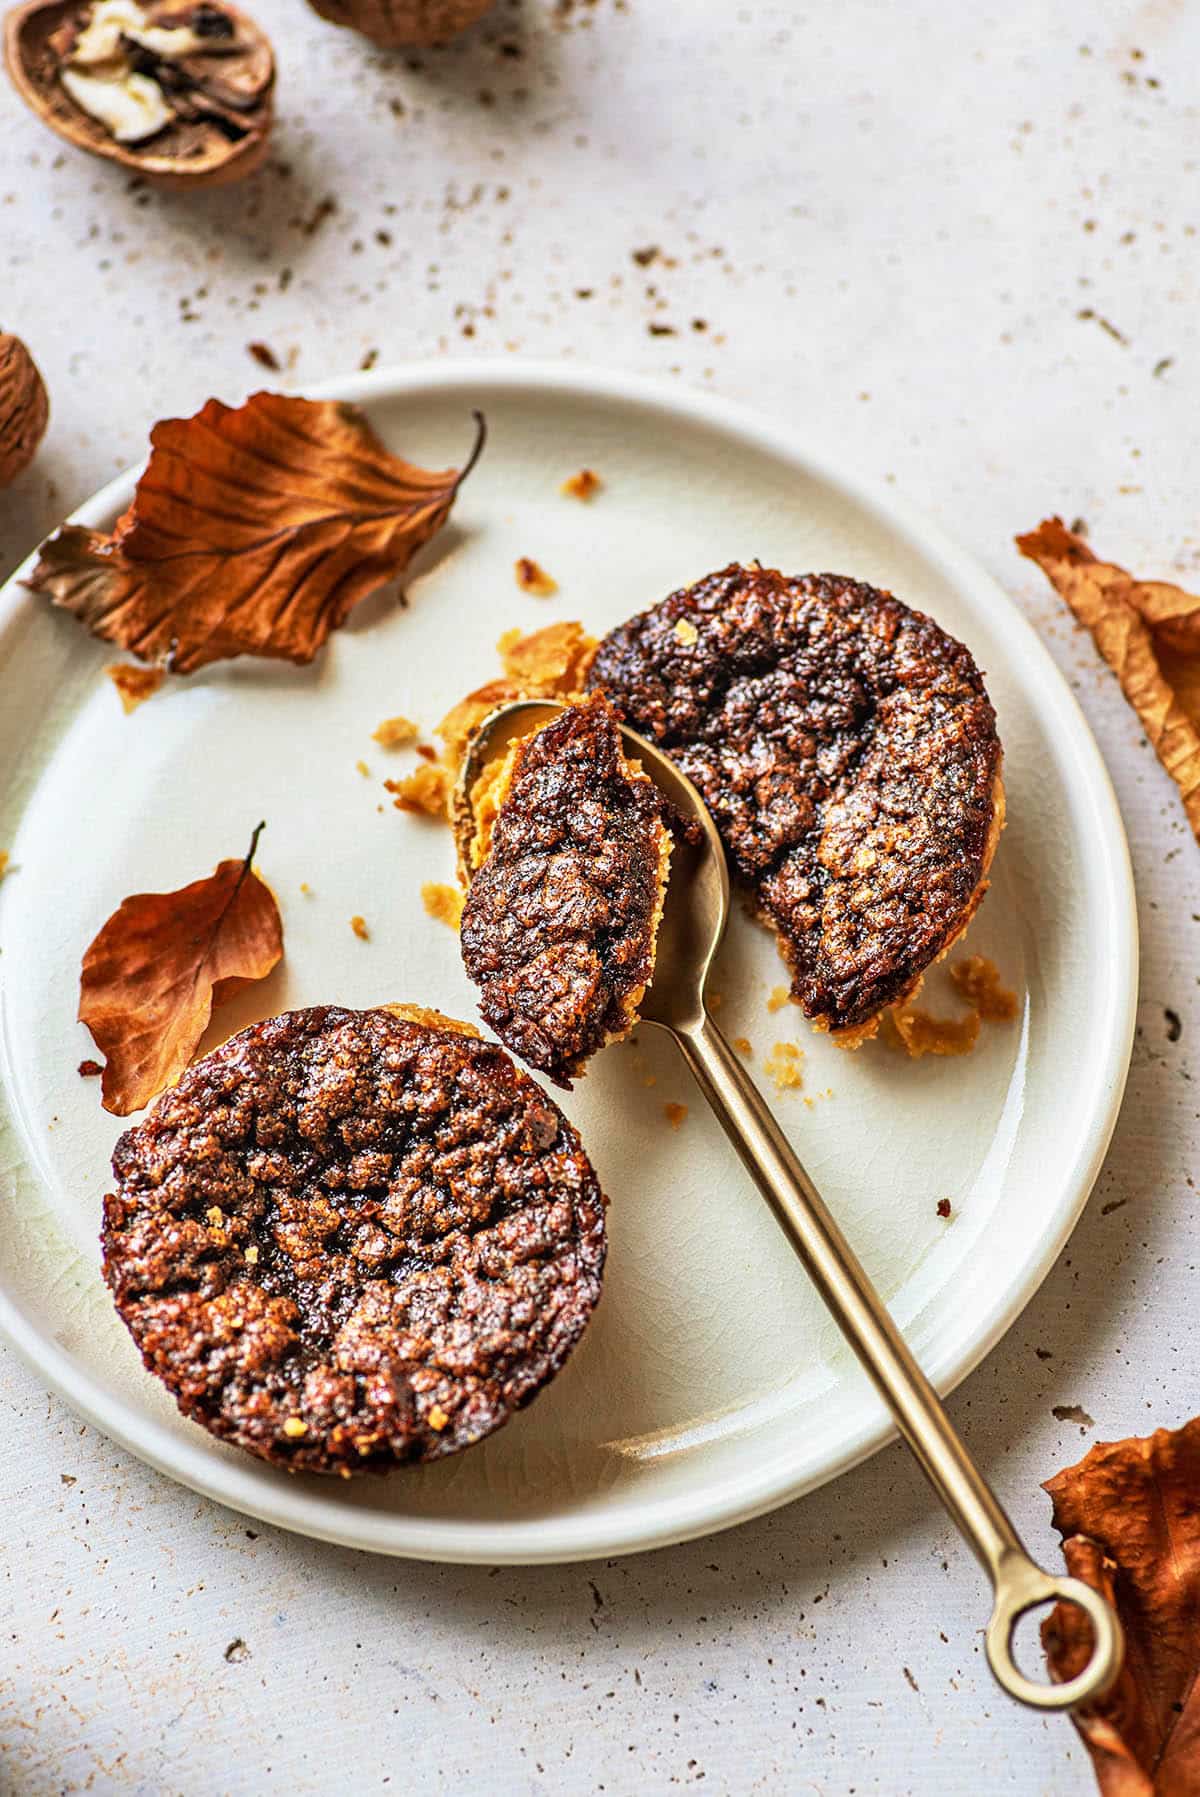
Maple butter tarts, or a Canadian classic made even more Canadian! With a sweet toffee-like filling and crisp, flaky pastry, this is a dessert you'll come back to again and again. You can't go wrong with maple syrup in a Canadian dessert.
We took a poll before sharing this recipe. Alex asked all of her friends in Manitoba if they like raisins in their butter tarts - most were in favour - but Kelly is adamant that raisins are not included in Nova Scotia. Sophie maintains that it's mixed in B.C.. Our online poll was mostly anti-raisin. So even though we haven't added them, the amounts are in the recipe card if you'd like to.
This recipe is adapted from Alex's husband's gran (she was from Saskatchewan, and did include raisins), with a Michael Smith twist. His inspired the addition of maple syrup and it's great. Dark brown sugar and #2 maple syrup make for a darker, very flavourful filling – they're not burnt!
Jump to:
Ingredients
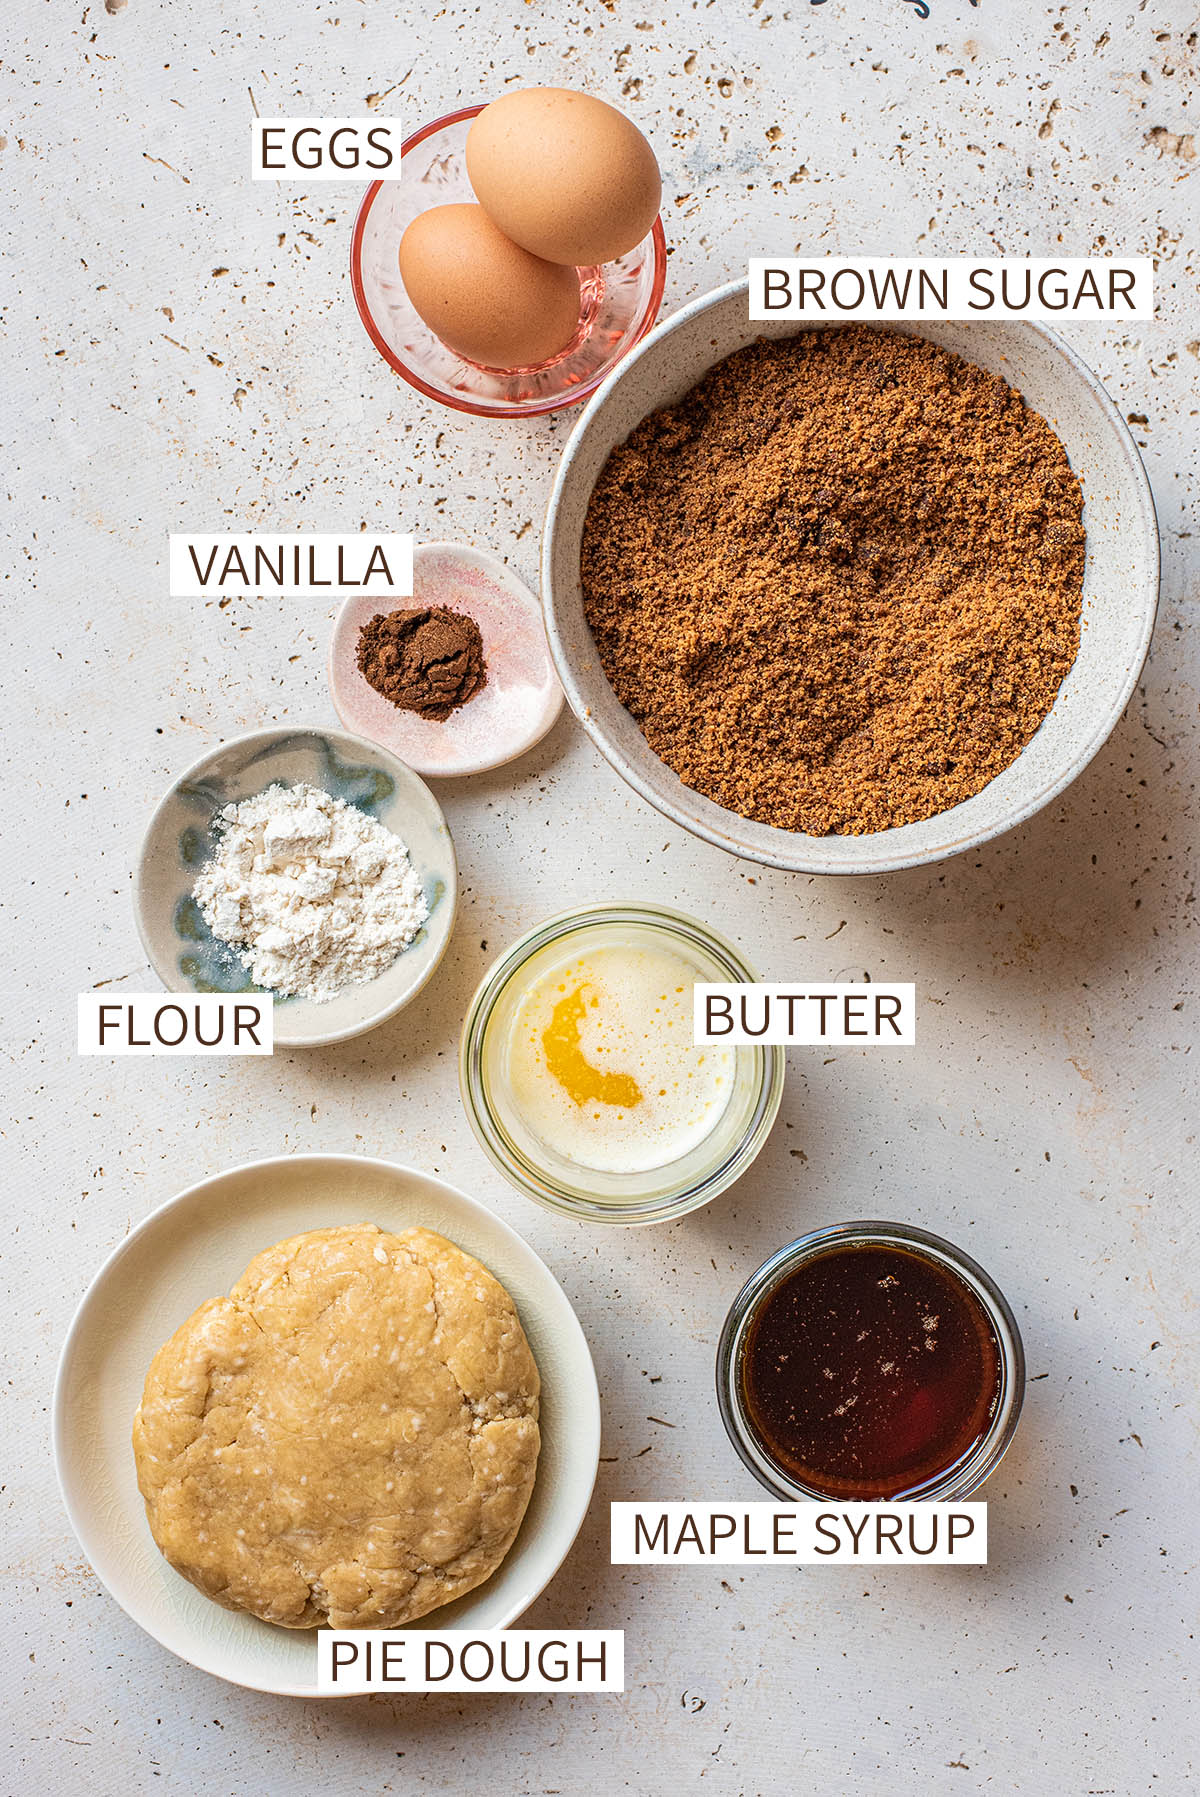
Ingredient Notes and Substitutions
- Pie dough: use any pastry crust you like. We used our all butter pie crust and love the flakey crisp-ness as a counterpoint to the soft, rich filling.
- Brown sugar: use either light or dark brown sugar. Note that we recommend dark brown sugar, which adds an even stronger caramel flavour.
- Make it dairy-free: use a very good vegan butter in place of the dairy butter, and go for this vegan pie dough on the outside.
Method
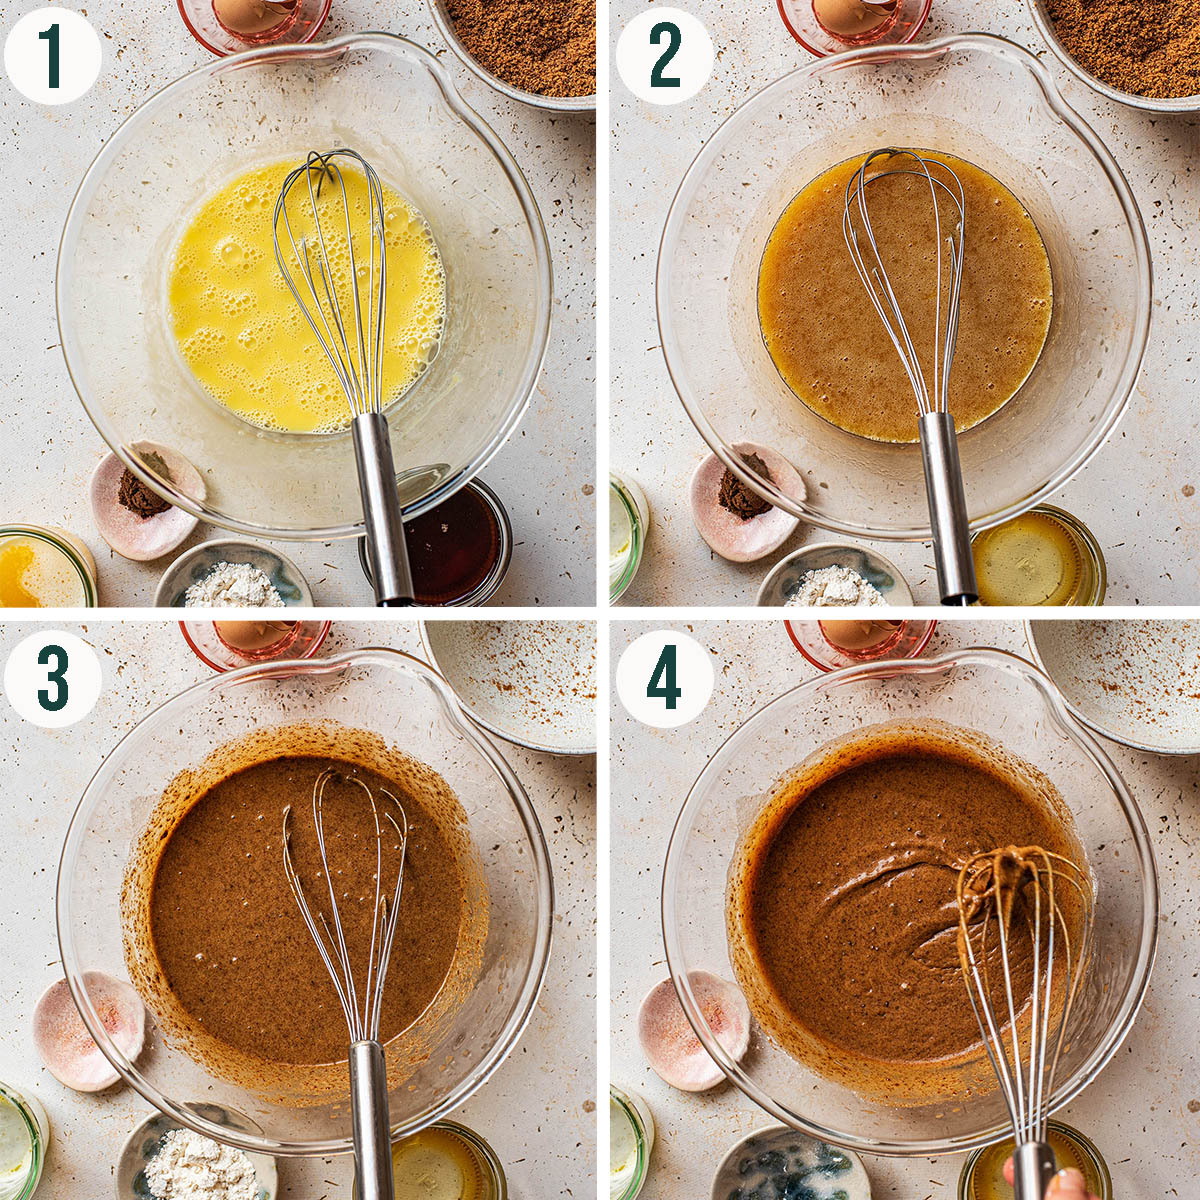
Step 1: add the eggs to a large bowl and whisk until well combined. Pour the butter into the eggs in a slow stream, whisking while you do so. This prevents any clumping of butter if your eggs were cold.
Step 2: whisk in the maple syrup.
Step 3: add the sugar and vanilla and mix to combine. Whisk well to break up any clumps in the brown sugar.
Step 4: add the flour and whisk again to mix throughout. The flour helps to stabilise the filling slightly to make up for the added liquid (the maple syrup).
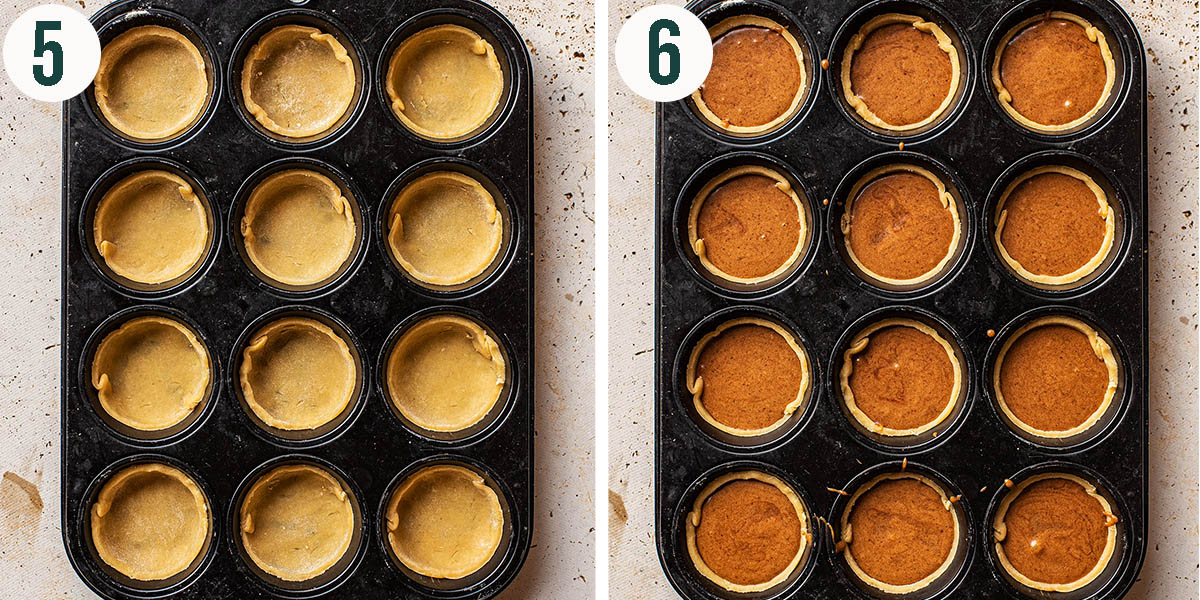
Step 5: roll out your pie dough. Cut 9 cm (3.5 in.) rounds from the dough and use them to line a standard muffin tin, pleating when necessary.
Step 6: fill the prepared tart shells three-quarters full. Bake the tarts for about 20 minutes. The centre should still be soft and will set as they cool. Let them cool in the tin for at least ten minutes before removing.
Top Tips
- Keep them small: butter tarts are very sweet and rich. They're meant to be quite dainty and small, because if they're too big, it's impossible to finish a whole one. Ours are about half the height of the cups of a standard muffin tin.
- Use two tins: this makes 18 tarts, so either use a second muffin tin, or refrigerate the dough off-cuts to roll out again for the second bake. Alternatively, you can use the remaining dough and filling to make butter tart bars (in a bread tin).
- Use any minis: if you prefer, you can use mini tart shells instead of using a muffin tin. We chose this to make it more accessible to every baker rather than needing mini tart tins (though you could use frozen minis, of course!).
Recipe Notes
As mentioned above, the darker your sugars, the darker your butter tarts will be. We love using dark maple syrup and brown sugar for a robust, toffee flavour, but if you like something a bit milder, use light brown sugar and a more golden maple syrup.
This filling does bubble during baking due to the higher liquid content with the maple syrup. The end result of that are butter tarts that look a bit more rustic on the top, often missing that smooth top layer, but the flavour is well worth it.
You can see that some of our tarts bubbled up a little high and went over the edges of the pastry - to avoid this, err to the under-filled side. If you love that chewy toffee texture, then don't worry about it too much.
The time needed to make the pastry isn't noted in the recipe card, so note that it does need to be made ahead of time and chilled if you're making your own. Store-bought works just as well.
How to Store
Storage: it's best to store butter tarts in the fridge. Keep them in a sealed container for up to five days. They'll only keep at room temperature for a day or two.
Freezing: place cooled butter tarts in an airtight container and freeze for up to three months. For the best results, freeze them they day they were baked, and thaw at room temperature before serving.
FAQ
Are butter tarts only in Canada?
While they are Canadian-specific and made in every province, you can now find butter tarts sold in some specialty shops in the U.S. and U.K.. Similar tarts are made in France and Scotland.
What is the story behind butter tarts?
No one really knows when butter tarts were first made, or exactly where they come from, but similar recipes are made in the U.K. and France, Canada's colonizing countries. The first published recipe is from 1900, in Ontario.
Should butter tarts have raisins?
It's all down to personal preference! Some Canadians are adamantly for raisins, some are very much against. If you love raisins, go ahead and add them.
More Canadian Classics


If you make this Maple Butter Tart recipe or any other tart and pie recipes on the Baked Collective, please take a moment to rate the recipe and leave a comment below. It’s such a help to others who want to try the recipe. For more baking, follow along on Instagram, TikTok, and YouTube.
Maple Butter Tarts
Equipment
- Rolling Pin
- Measuring cups and spoons or a digital kitchen scale
- 12-cup muffin tin
- Mixing bowl
- Whisk
- Wooden spoon
Ingredients
Filling
- 2 large eggs*
- ½ cup melted butter
- ½ cup maple syrup
- 2 teaspoons vanilla extract**
- 1 ½ cups brown sugar
- 1 tablespoon flour
- 1 cup raisins, optional
Instructions
- Preheat the oven to 400°F (200°C).
Pastry
- Roll out your pie dough to about 5mm (3/16th inches) thick and cut twelve 9 cm (3.5 inches) rounds with a cookie cutter or other round tool (like a jar lid).
- Line the cups of a standard muffin tin with the pastry. It should come about halfway up the cups.
- Press the remaining dough together and refrigerate, if you have one muffin tin, or roll out again to cut another six rounds.
- Line a further six muffin cups (or repeat with the same tin once it's cooled).
Filling
- Add the eggs to a large mixing bowl and whisk until very well combined and slightly frothy.
- Pour the melted butter into the eggs in a slow stream, whisking constantly, until combined.
- Add the maple syrup and vanilla and mix again.
- Add the brown sugar and whisk to combine. Make sure to mix well here to break up any clumps of sugar.
- Finally, add the flour and whisk to incorporate. Add the raisins if using and stir to evenly distribute.
- Fill the prepared muffin cups ¾ full. Bake the tarts for 20-22 minutes, or until the edges of the filling are just firm to the touch and the filling is still soft.
- Remove the tin(s) from the oven and set it on a rack to cool for at least 10 minutes before removing the tarts. Cool fully before serving. The tarts will keep in an airtight container at room temperature for about a week and freeze well.
Notes
Nutrition
Nutrition information is an estimate and is provided as a courtesy. For precise nutritional data, please calculate it independently using your preferred nutrition calculator.
This post may contain affiliate links. If you purchase through these links, we may earn a small commission, at no additional cost to you.
 Did you make this recipe?Please consider leaving us a rating and a comment. It helps others find our work, which genuinely supports what we do. Thank you!