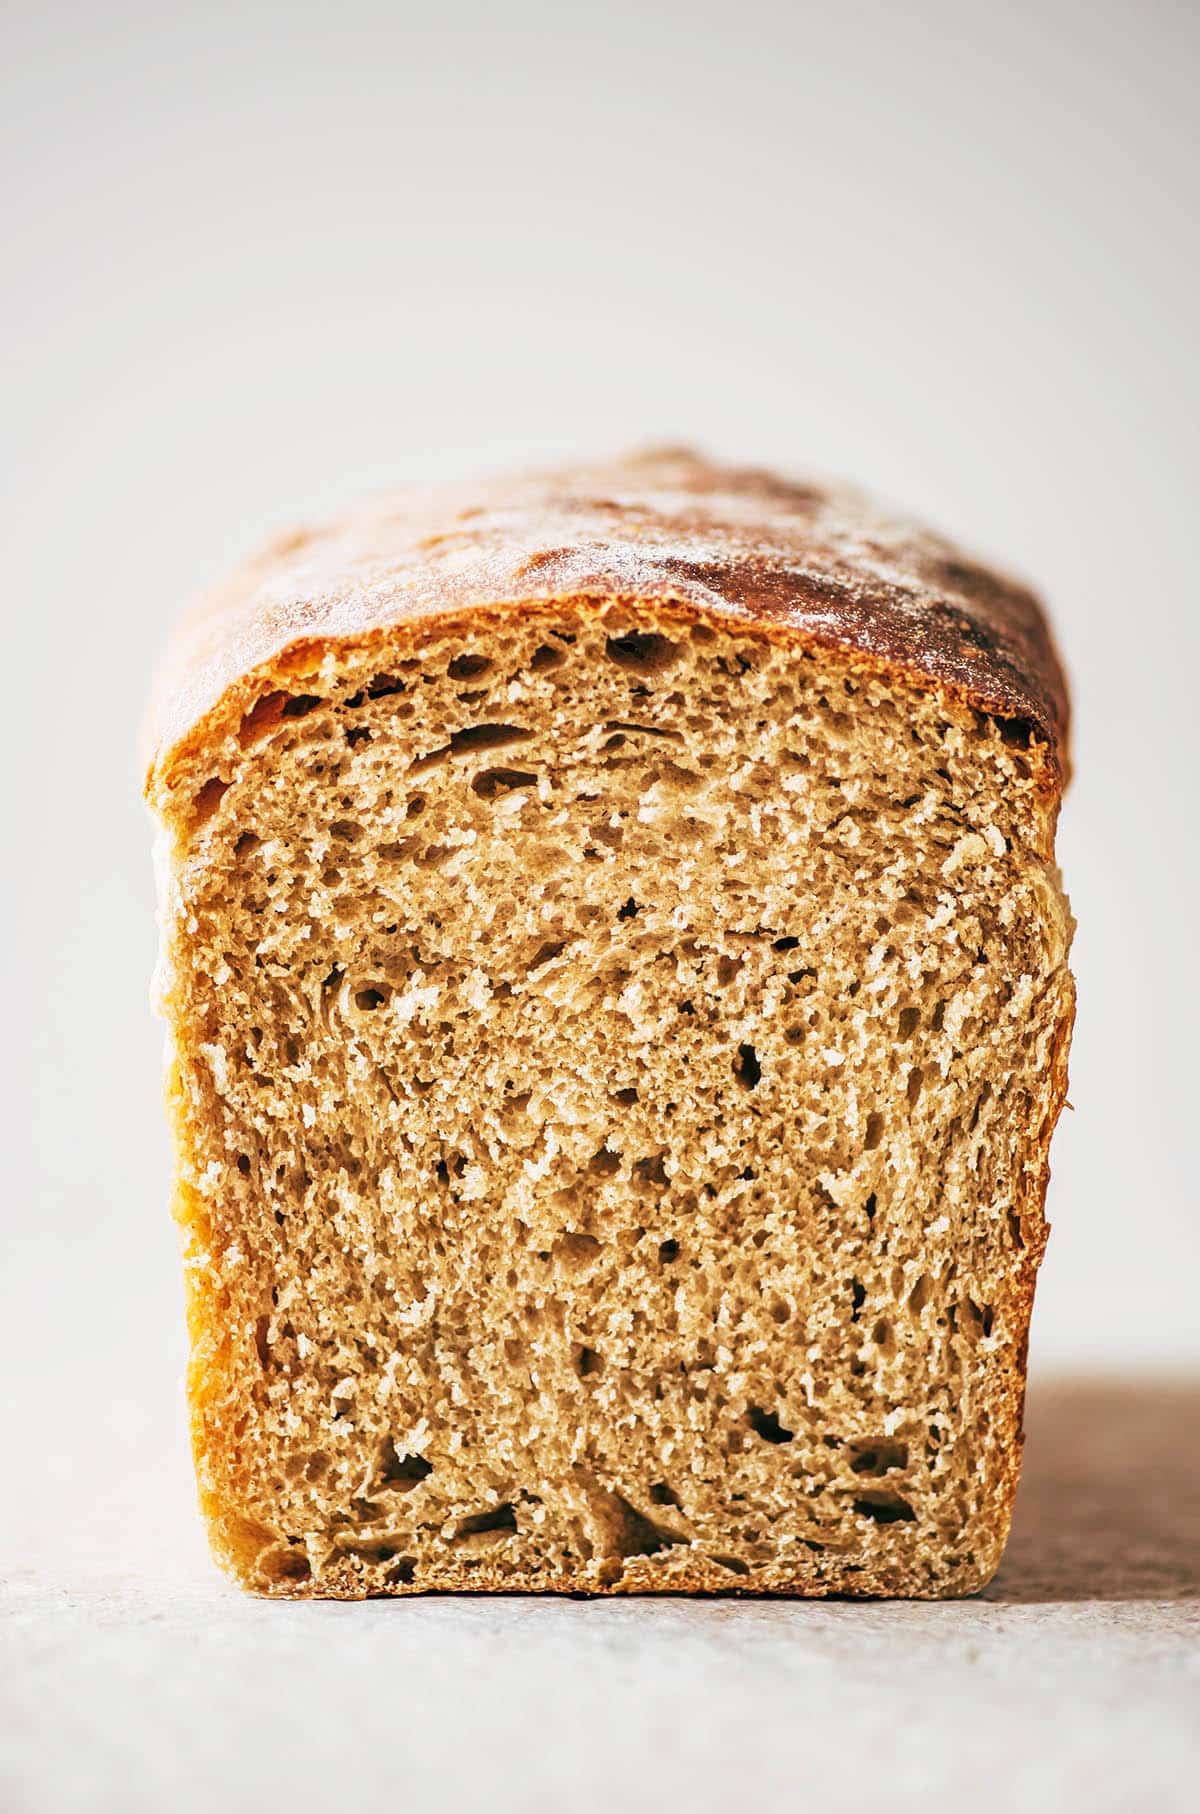
Sourdough Sandwich Bread
Sourdough sandwich bread is a soft, squishy loaf with a hint of tang. Perfect for your favourite sandwiches or morning toast and jam!
Yield: 10
Equipment
- Digital kitchen scale
- Mixing bowl
- Whisk
- Wooden spoon
- Tea towel
- Bread tin
- Parchment paper
- Wire rack
Ingredients
- 250 grams whole milk room temperature
- 100 grams active sourdough starter
- 1 large egg room temperature
- 40 grams olive oil*
- 500 grams all-purpose flour
- 45 grams sugar
- 8 grams sea salt
Instructions
Day One: Mix and First Rise
- Add the milk and sourdough starter to a large mixing bowl and whisk until combined. Add the egg and olive oil and mix again until incorporated.250 grams whole milk, 100 grams active sourdough starter, 1 large egg, 40 grams olive oil*
- Add flour, sugar, and salt to the bowl. Use a wooden spoon to stir until a soft, shaggy dough forms.500 grams all-purpose flour, 45 grams sugar, 8 grams sea salt
- Let the dough rest, covered with a tea towel, for 30 minutes. After the initial rest period, perform a series of three stretch and folds over the course an hour and a half, one every 30 minutes.
- Cover the bowl well with a tea towel and plate, then leave it at room temperature to rise for about 8 hours, or until doubled in size.
Day Two: Shape and Second Rise
- Line a bread tin with parchment paper or grease very well with butter. Set aside.
- Once the dough has gone through the first proof and doubled in size, it's ready to be shaped. Lightly flour a clean surface with flour and tip the dough out onto it. If you are not confident in shaping dough, refrigerate it for an hour beforehand to make it easier to work with.
- Do a couple of stretches and folds to add a bit of tension to the dough and make it easier to work with, then shape a rough rectangle with it, making sure one side is about the same length as your bread tin.
- Roll the dough into a spiral, making sure you're rolling from the side that's the length of your tin, then place it seam down into your prepared tin. Try to get a tight spiral but don't worry if it's imperfect.
- Cover the dough with a tea towel and set in a warm, draft-free place to rise again for 2-4 hours, or until the dough is about 1 inch (3 cm) over the top of the tin in the centre.
Day Two: Bake
- Once your loaf has risen, it's ready to be baked. Preheat oven to 350°F (180°C).
- Place the bread onto the centre rack and bake for 40-45 minutes, or until the top of the loaf is golden.
- Remove from oven and cool in the tin for 10 minutes before carefully removing and cooling fully on a wire rack.
- Don't cut the bread until it's completely cooled down, at least a couple of hours. It keeps well in a container or wrapped in beeswax wrap for a couple of days and can be frozen for up to a month.
Notes
* Any neutral or light tasting oil can be used here. Sunflower, avocado, canola, etc.
Nutrition
Serving: 1slice | Calories: 237kcal | Carbohydrates: 40g | Protein: 6g | Fat: 6g | Saturated Fat: 1g | Polyunsaturated Fat: 4g | Cholesterol: 18mg | Sodium: 274mg | Fiber: 1g | Sugar: 5g