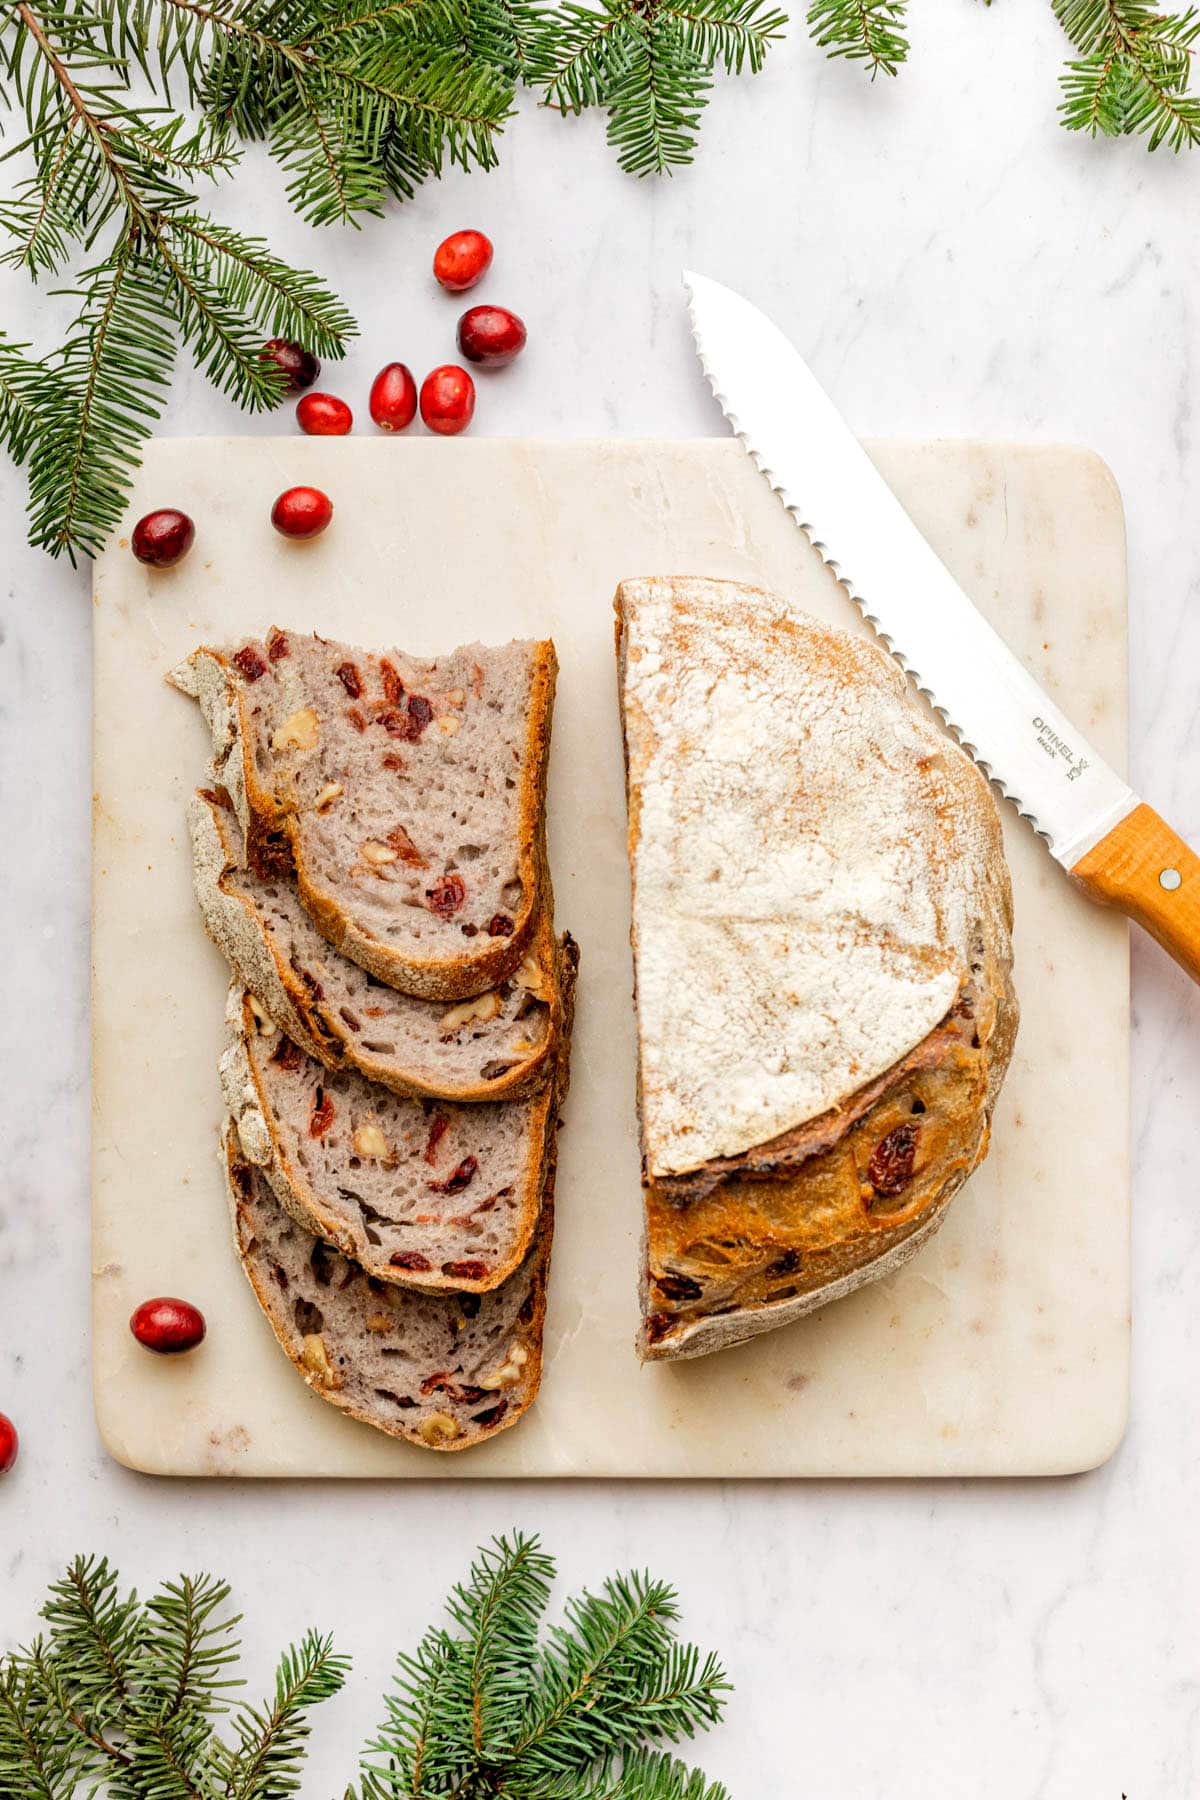
Cranberry Sourdough Bread With Walnuts
Cranberry sourdough bread is a rustic, hearty loaf terrific for toasting or turkey sandwiches! With walnuts for added flavour and texture.
Yield: 10
Equipment
- 2 Mixing bowls
- Tea towel
- Banneton
- Dutch oven
- Parchment paper
- Wire rack
Ingredients
- 100 grams levain made the night before (see instructions)
- 500 grams all-purpose flour
- 375 grams water room temperature
- 10 grams sea salt
- 100 grams dried sweetened cranberries
- 80 grams shelled raw walnuts
Instructions
DAY 1: Make The Levain
- Make a levain the night before you want to start your loaf. Alternatively, use bubbly active sourdough starter and skip straight to day 2.
DAY 2: Make & Shape The Dough
- Combine the all-purpose flour and the water in a large mixing bowl. Add the levain (or an equal amount of bubbly active sourdough starter) to the bowl. Use your hands to mix the ingredients into a rough shaggy dough. Once the dough is mixed, cover the bowl with a tea towel. Let the dough sit at room temperature for 30 minutes to rest.
- While the dough is resting, place the cranberries and walnuts in a second bowl. Cover them with hot tap water, poured about one inch above the top of the berries and nuts. Set aside to soak.
- After the 30 minute resting time has elapsed, sprinkle a bit of salt over the dough. Use your hands to mix the dough around, gradually adding more salt, until the salt is gone and is well distributed throughout the dough.
- Drain the cranberries and walnuts, discarding the soaking liquid. Add them to the dough, and again, use your hands to mix them in.
- Do the stretch and folds: Dampen your hands lightly with water. Reach under the dough on the opposite side of the bowl from you. Gently pull the dough up, stretching it as far as you can without tearing it. Once you have stretched it as far as you can, fold the dough over in half, on top of itself, back into the bowl. Turn the bowl a quarter turn and repeat the process on all four quadrants of the bowl. This completes one series of stretch and folds. Do six more series of stretch and folds, one every 30 minutes, for a total of 3 hours.
- Shape the dough: Dust a work surface with flour. and lightly dampen your hands. Reach into the bowl and underneath the dough, gently scooping it and coaxing it out onto the work surface. Let the dough rest for 20 minutes. While the dough is resting, prepare a banneton by dusting the inside liberally with flour (we like a mix of wheat flour and rice flour).
- After 20 minutes, shape your loaf. When shaping, aim for as much surface tension as possible over the loaf without tearing the outside of it.
- Once shaped, turn the loaf into your prepared banneton with the top of the loaf facing down and the bottom seam facing up. Sprinkle a bit of flour on the exposed dough before covering it gently with a tea towel. Place the loaf in the fridge overnight.
DAY 3: Bake Your Loaf
- Place a Dutch oven, with the lid on, into the oven. Preheat the oven to 500°F (260°C) (if your oven doesn’t reach 500ºF, preheat it at the highest temperature available). Once the oven has come to temperature, continue to preheat the Dutch oven for another 30 minutes.
- Have a large square sheet of parchment paper ready and remove your bread from the fridge. Gently invert the dough onto the parchment paper and lift away the banneton. If your bread is sticking, give it a few occasional gentle shakes until it releases.
- Gently score the bread with a sharp blade in any pattern you like. Using oven mitts, carefully remove the Dutch oven from the oven. Remove the lid, then carefully lift the dough into the hot pot using the parchment paper as “handles”. Again, using oven mitts, carefully place the lid back on the Dutch oven, then put the whole pot back into the heated oven.
- Reduce the oven temperature to 450°F (230°C) and bake the bread for 20 minutes. Wearing oven mitts, remove the pot from the oven. Carefully remove the lid (be careful of steam) and bake the loaf for another 22 to 25 minutes with the lid off.
- Remove the pot from the oven. Carefully lift the loaf out of the pot using the edges of the parchment paper and set it on a wire cooling rack. Remove the parchment paper once it’s cool enough to do so, then leave the loaf on the rack to cool completely before slicing, about 5 to 6 hours.
Nutrition
Serving: 1slice | Calories: 235kcal | Carbohydrates: 49g | Protein: 7g | Fat: 1g | Sodium: 488mg | Fiber: 2g | Sugar: 1g